This guide walks you through configuring a flow with late order processing capabilities, including setting up a Page Menus step for late orders and configuring automatic late fee application.
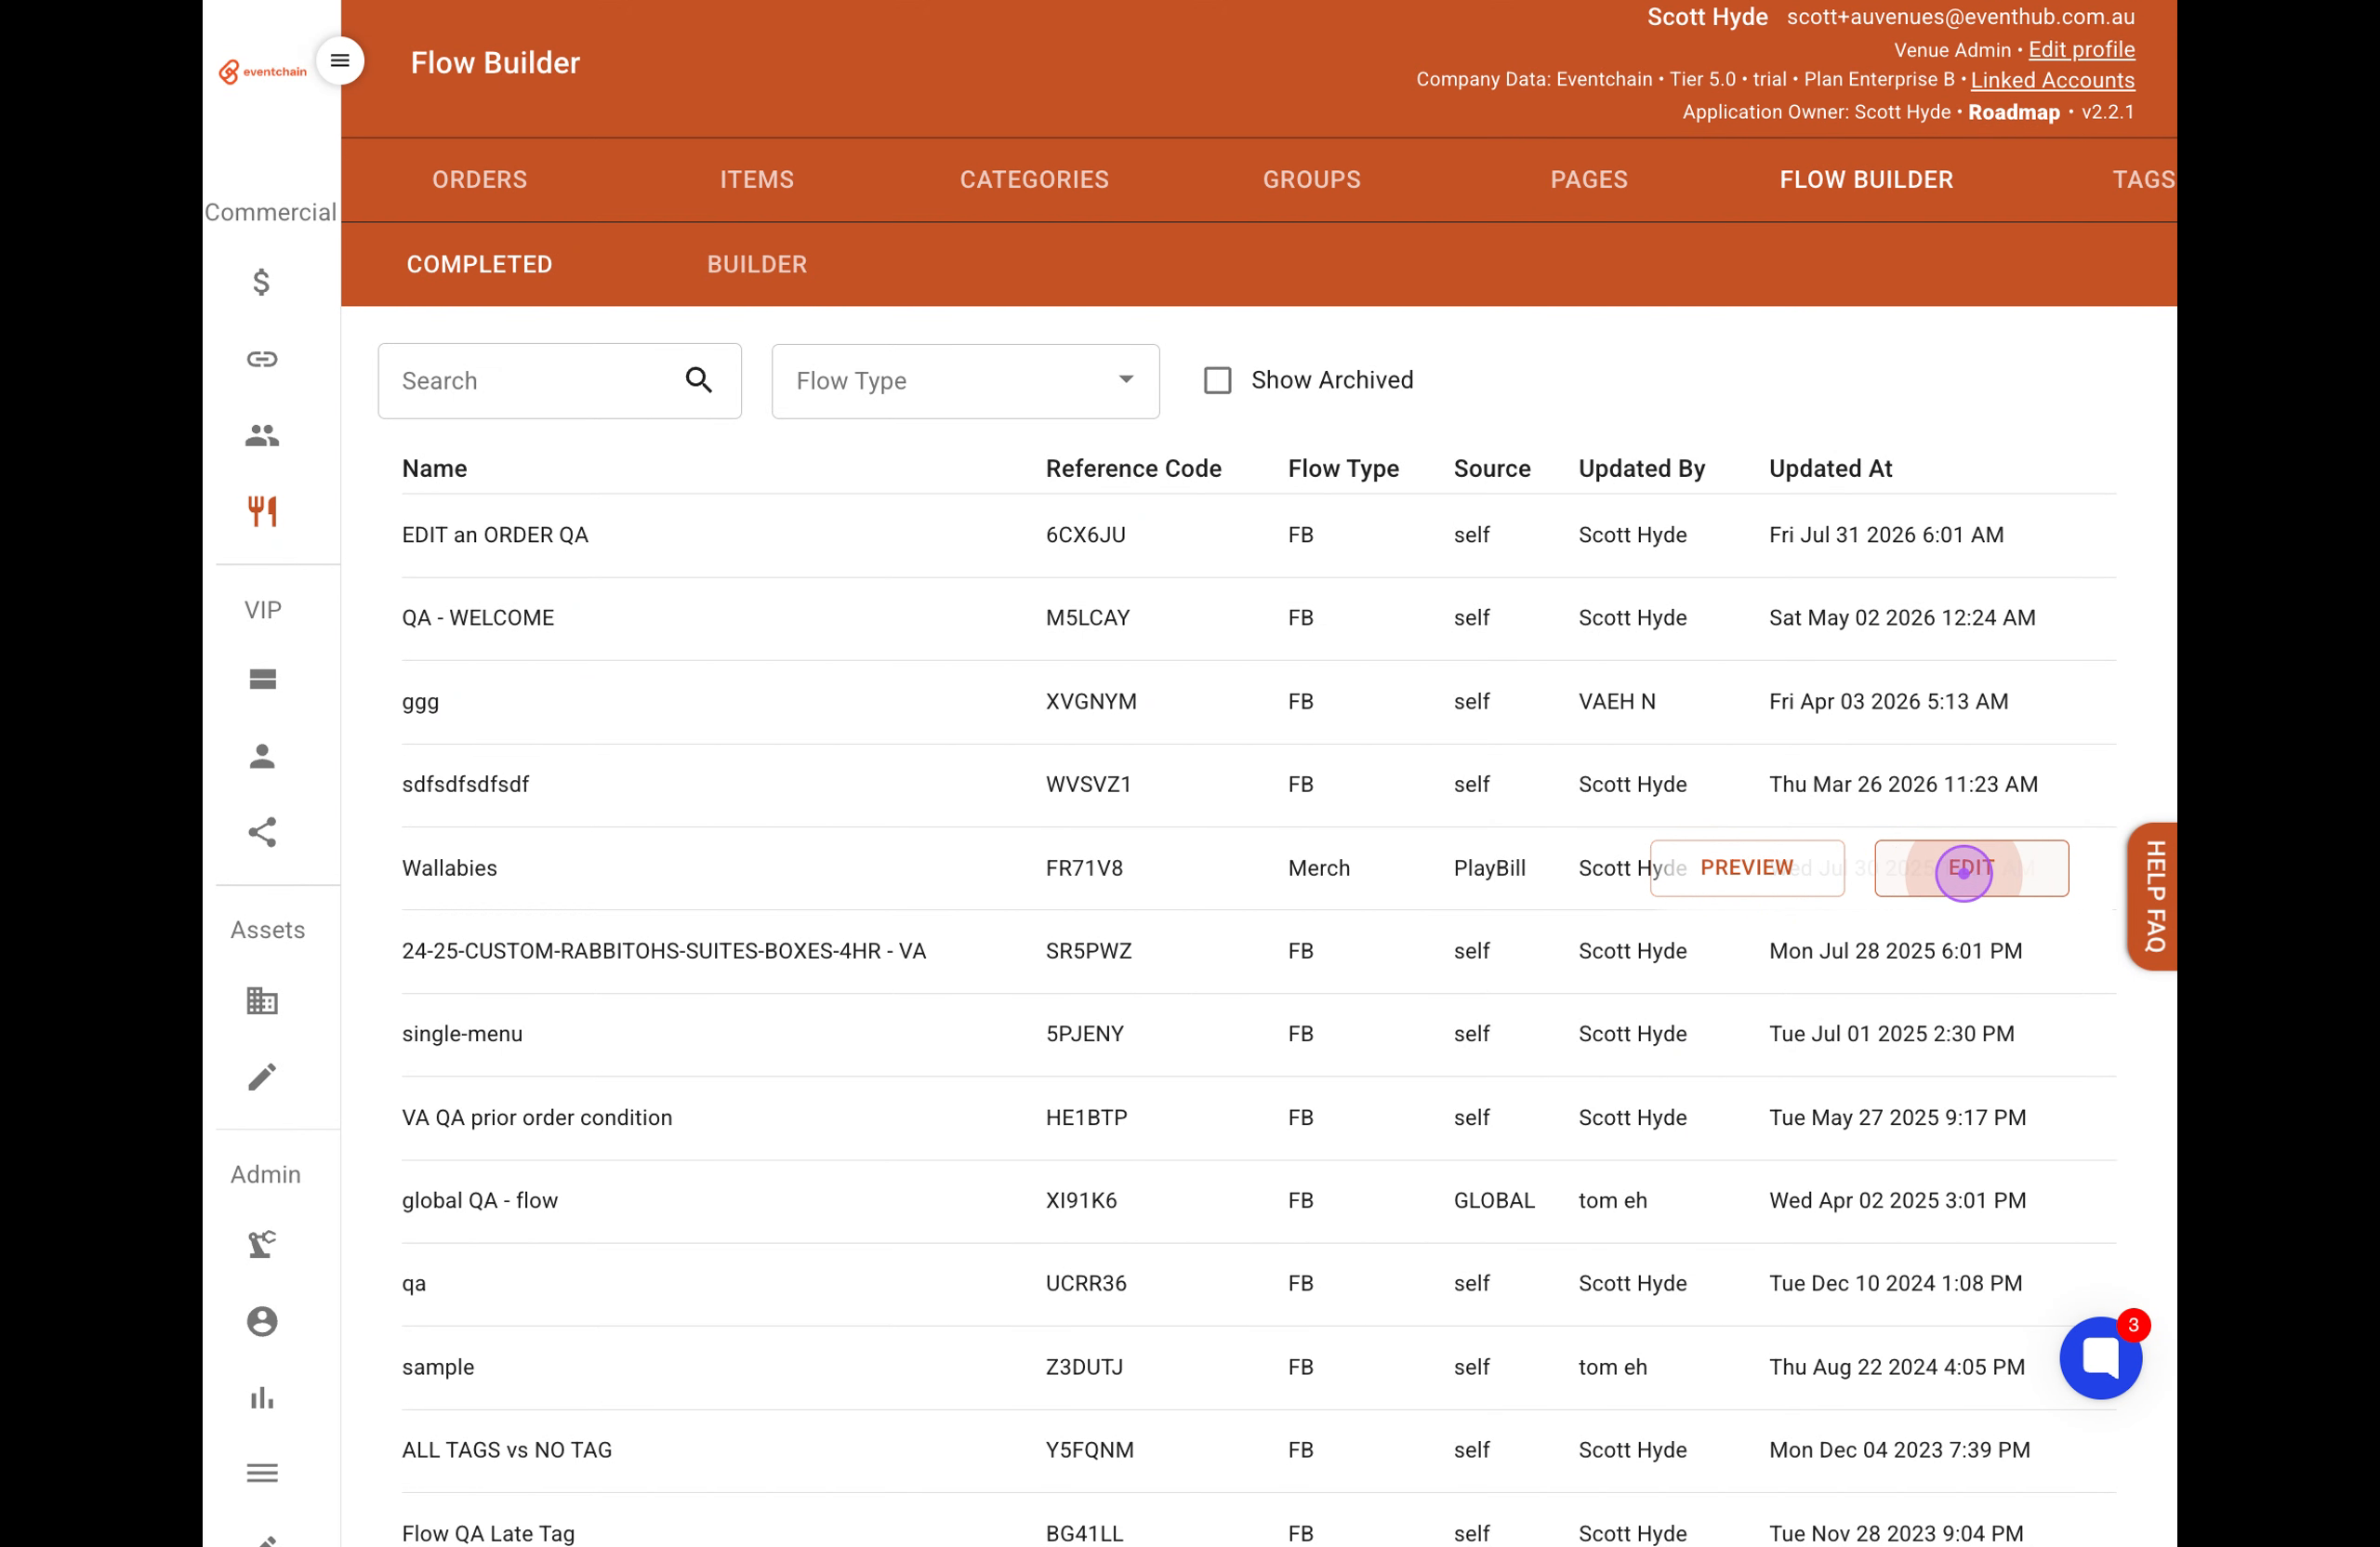
Navigate to the Flow Builder page and locate the flow you want to edit. Click the Edit button next to the flow you want to modify to open the Flow Builder interface.
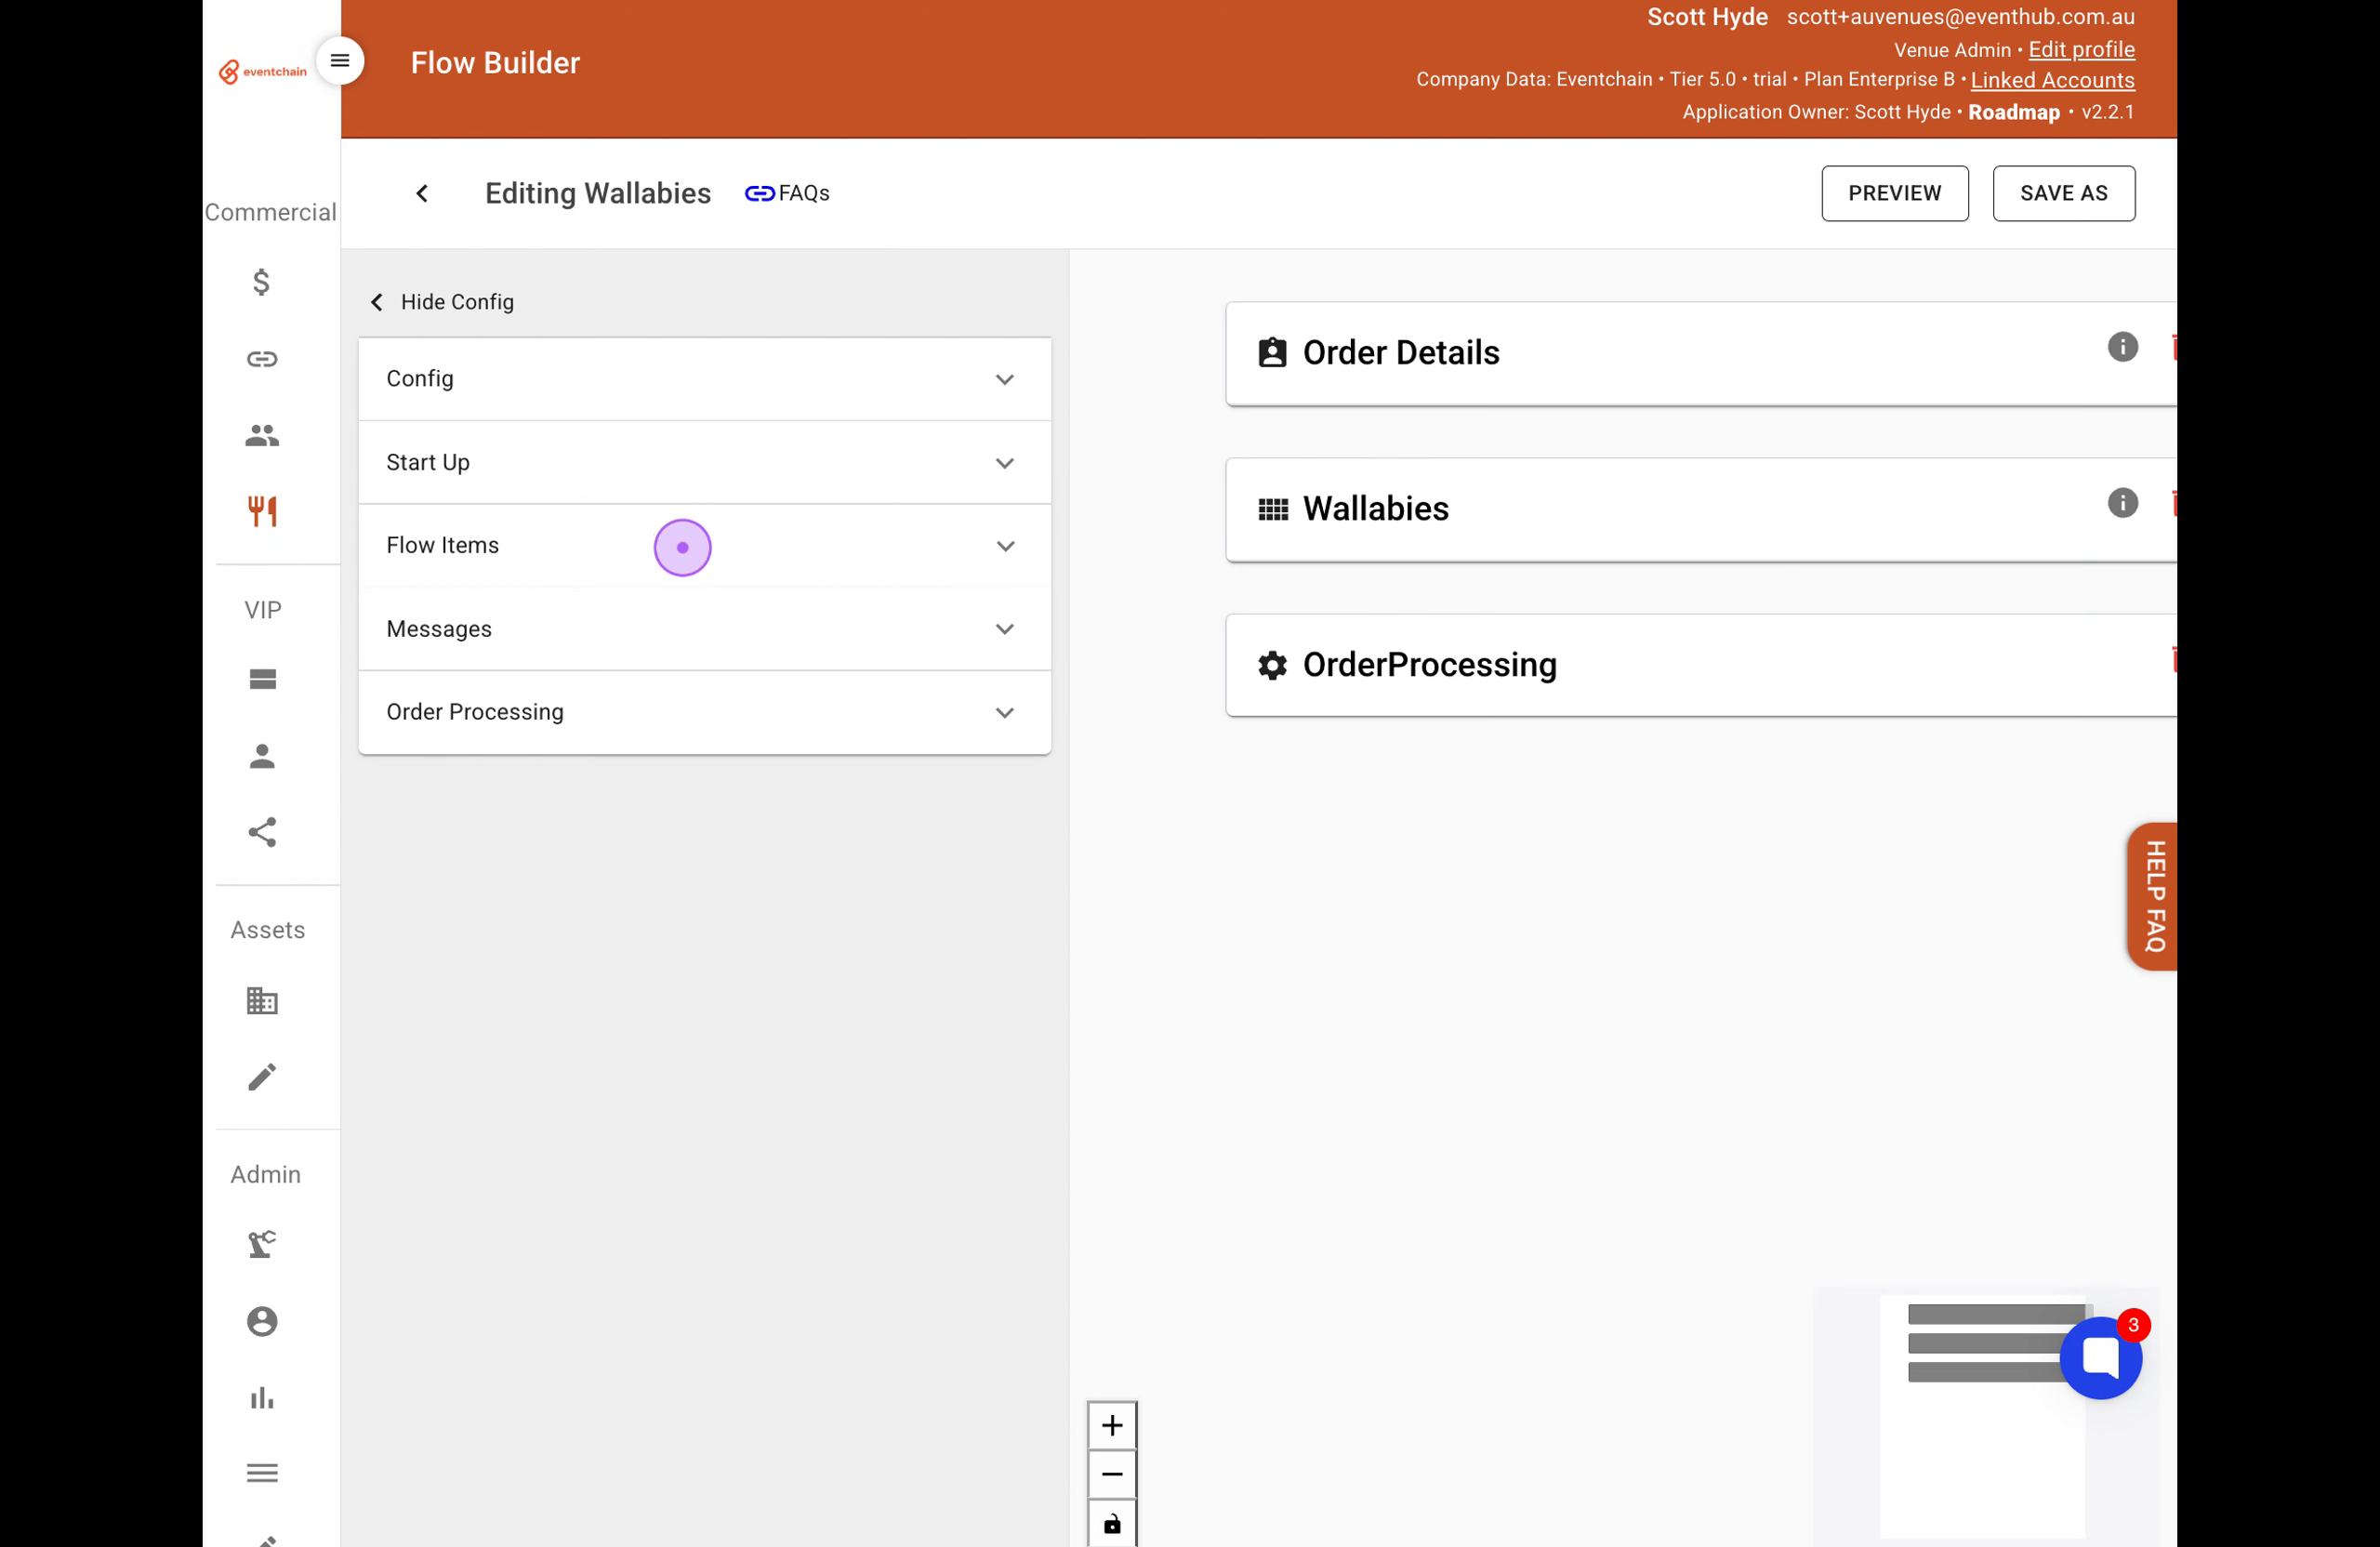
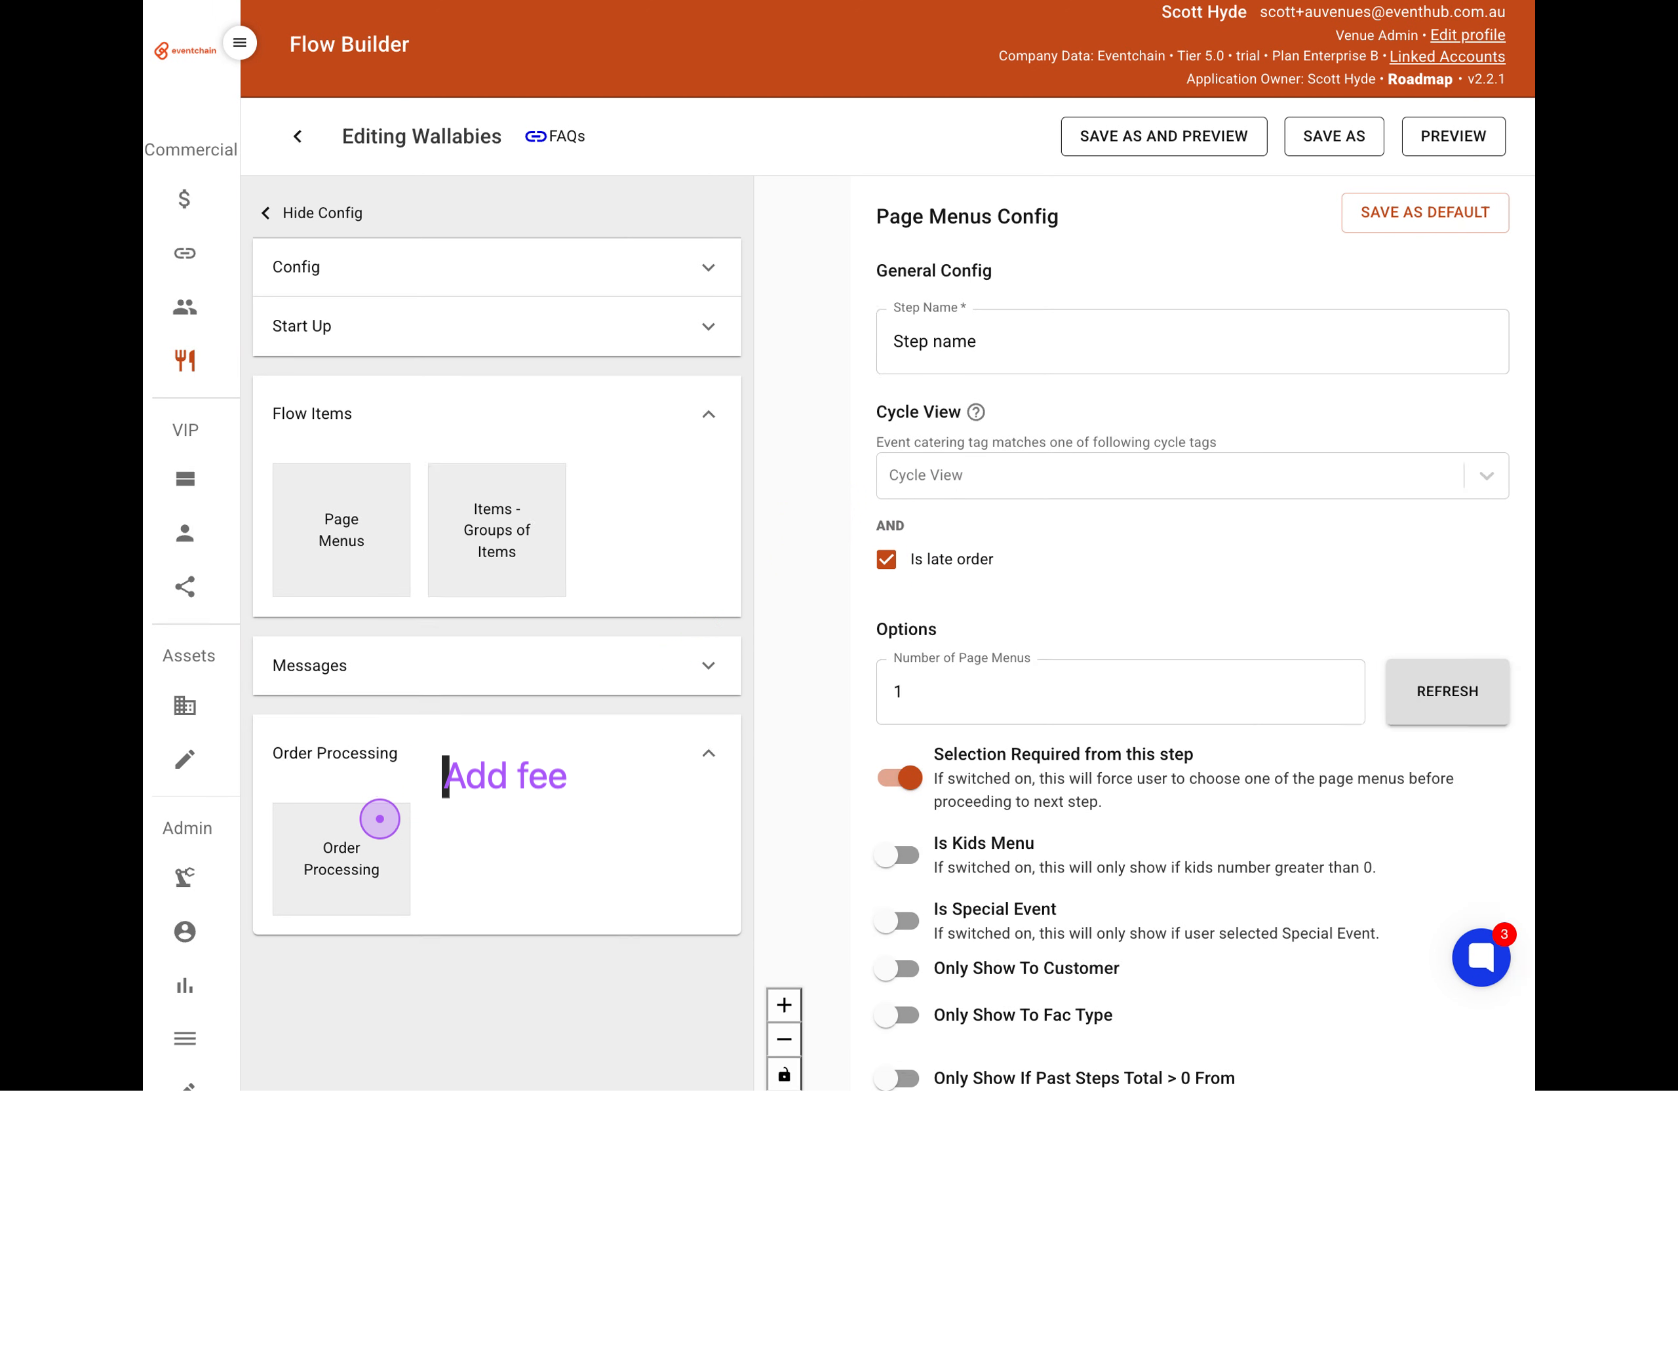
In the left configuration panel, click on Flow Items to expand the available flow components.
Under the Flow Items section, click on the Page Menus option to add a new Page Menus step to your flow canvas.
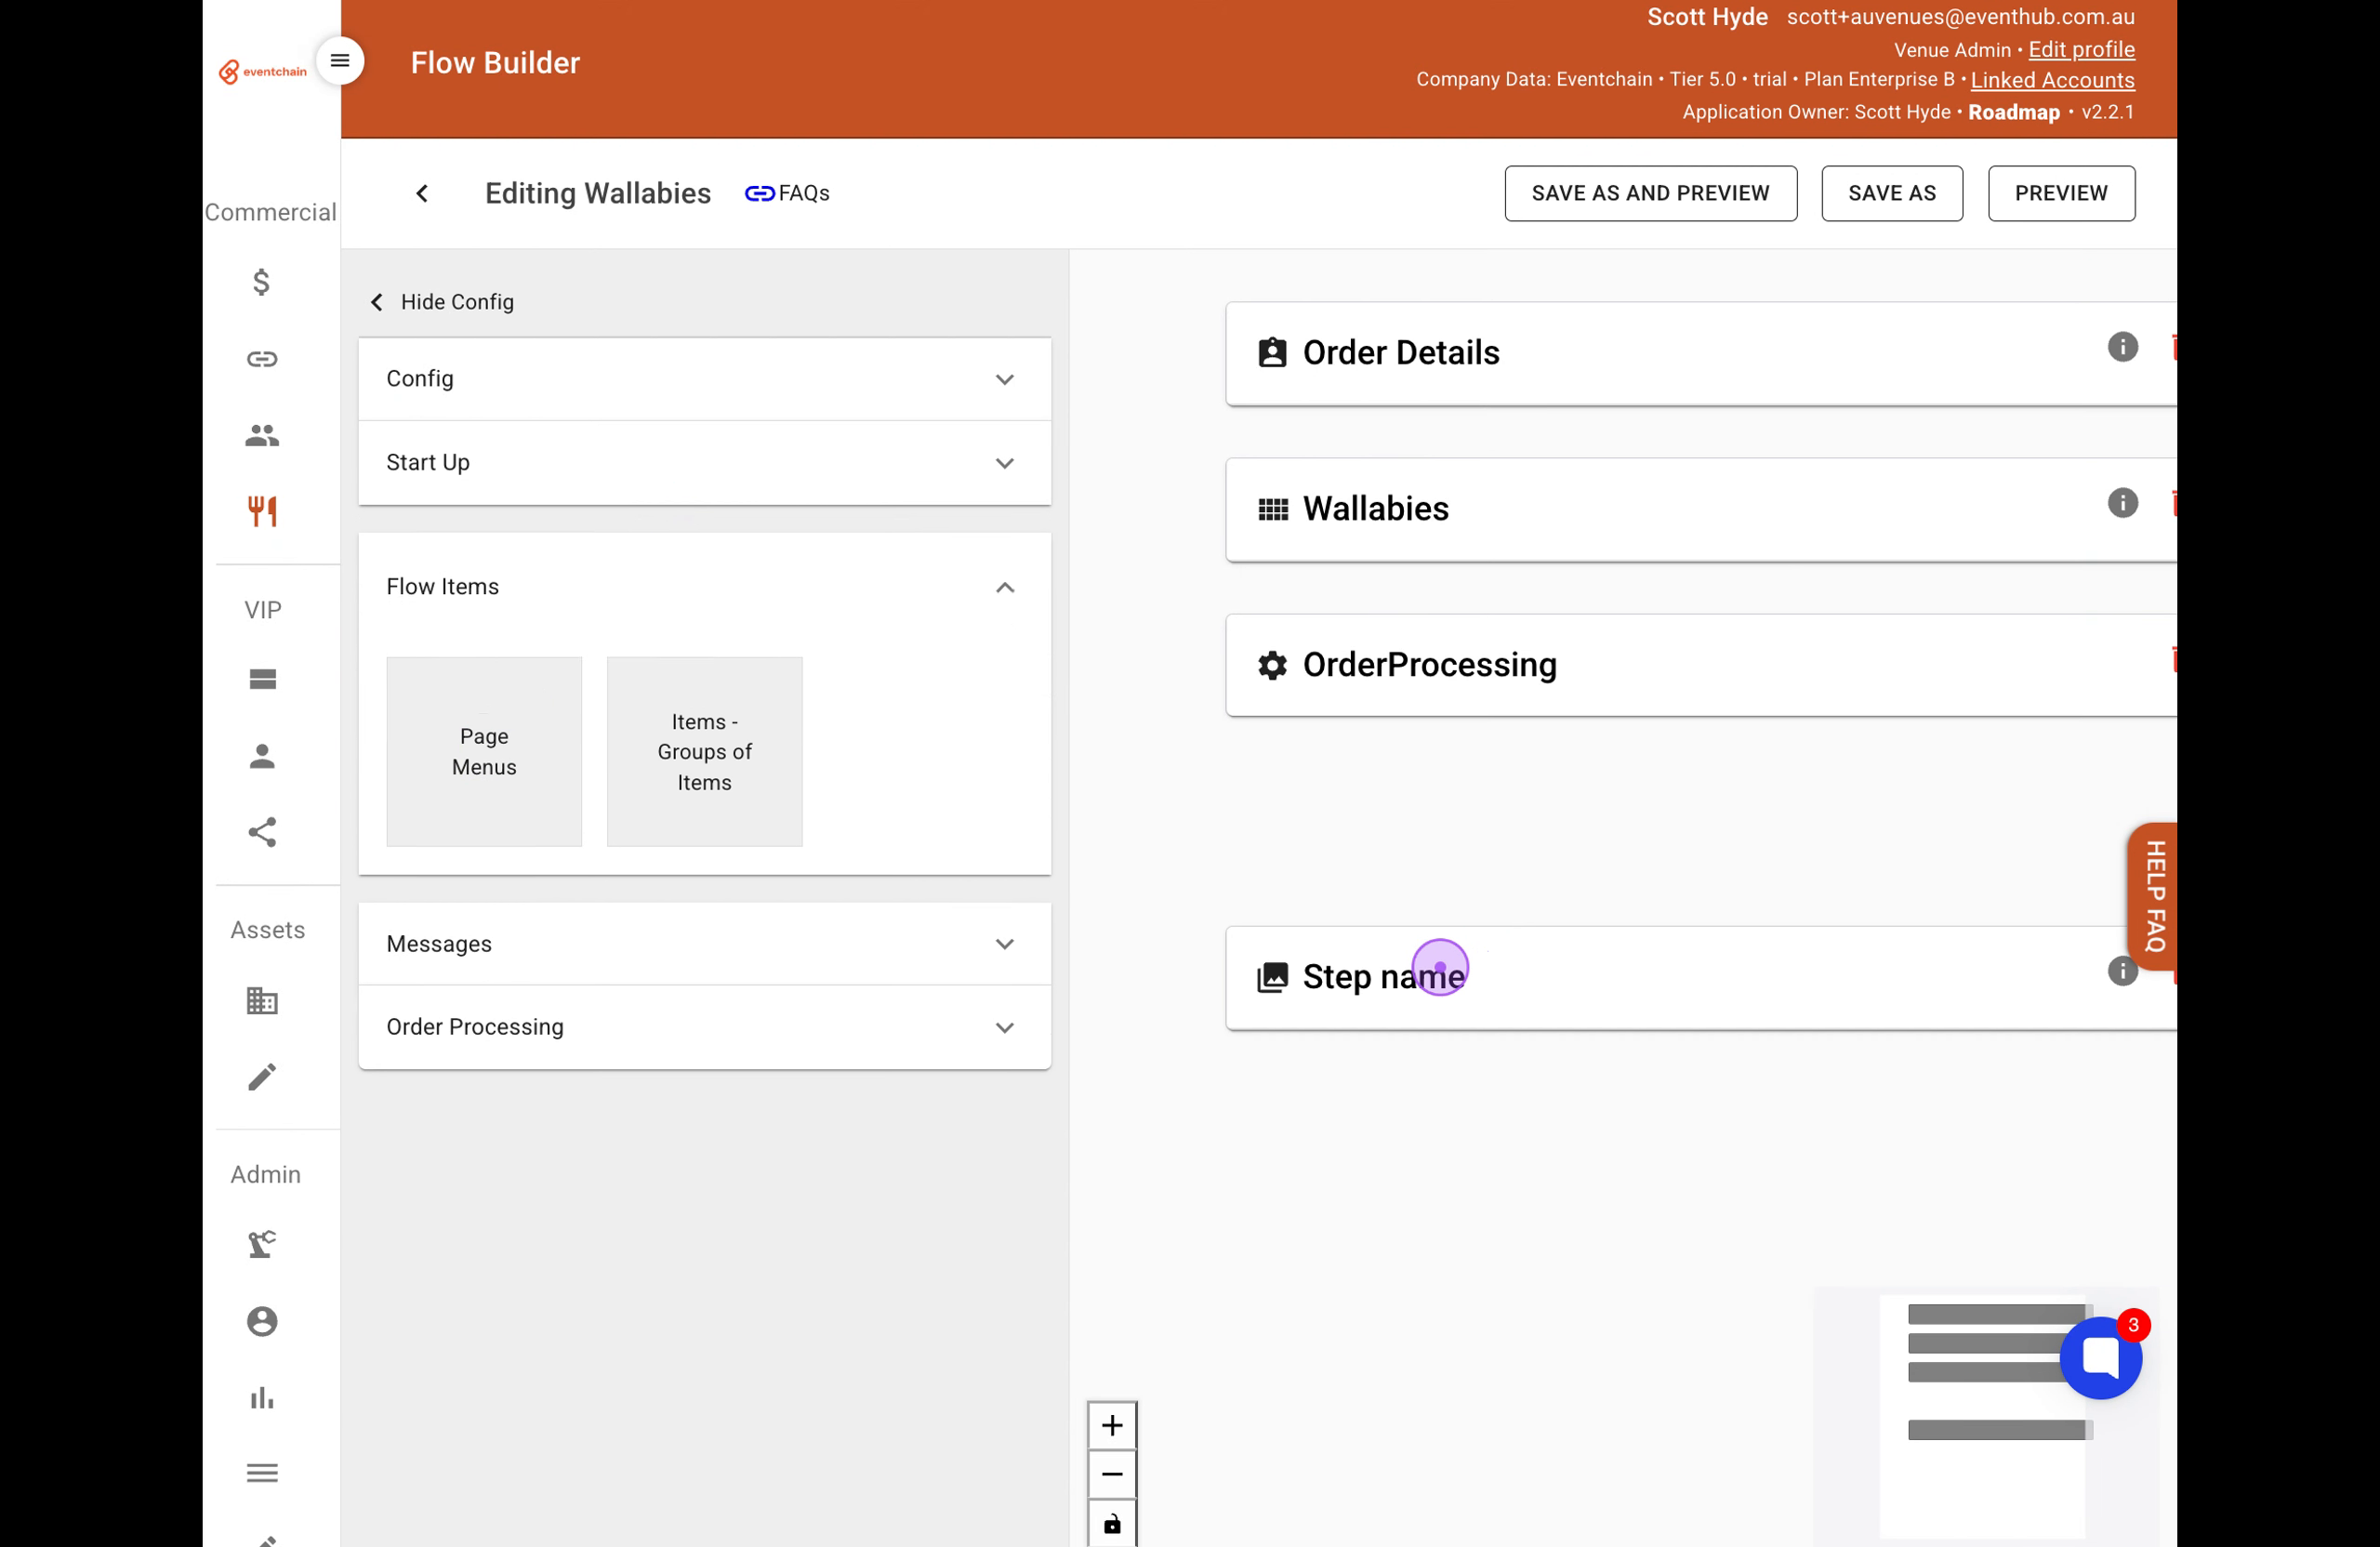
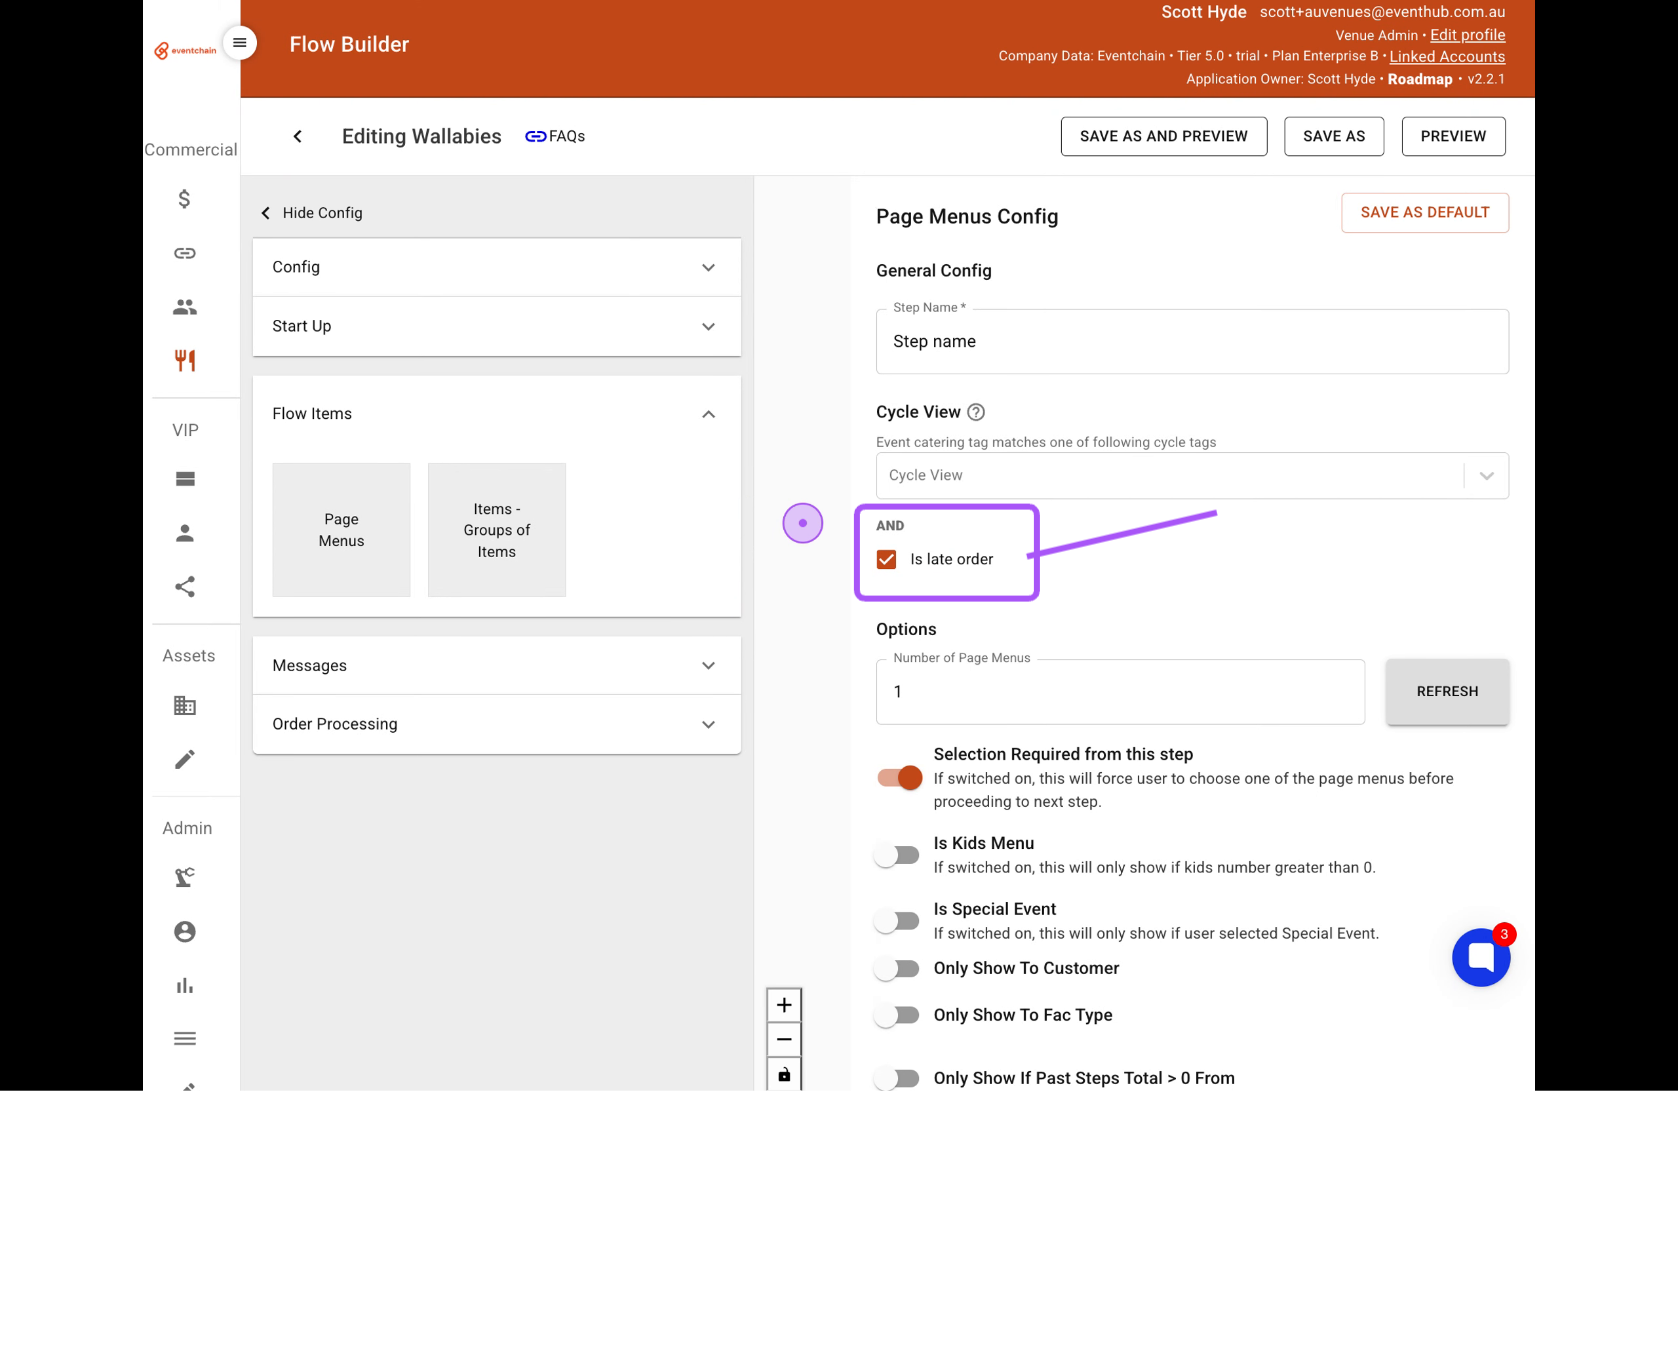
In the Page Menus configuration panel, check the Is late order checkbox to mark this step as requiring late order processing.
Expand the Order Processing section in the left panel and click on Order Processing to add it to the end of your flow.
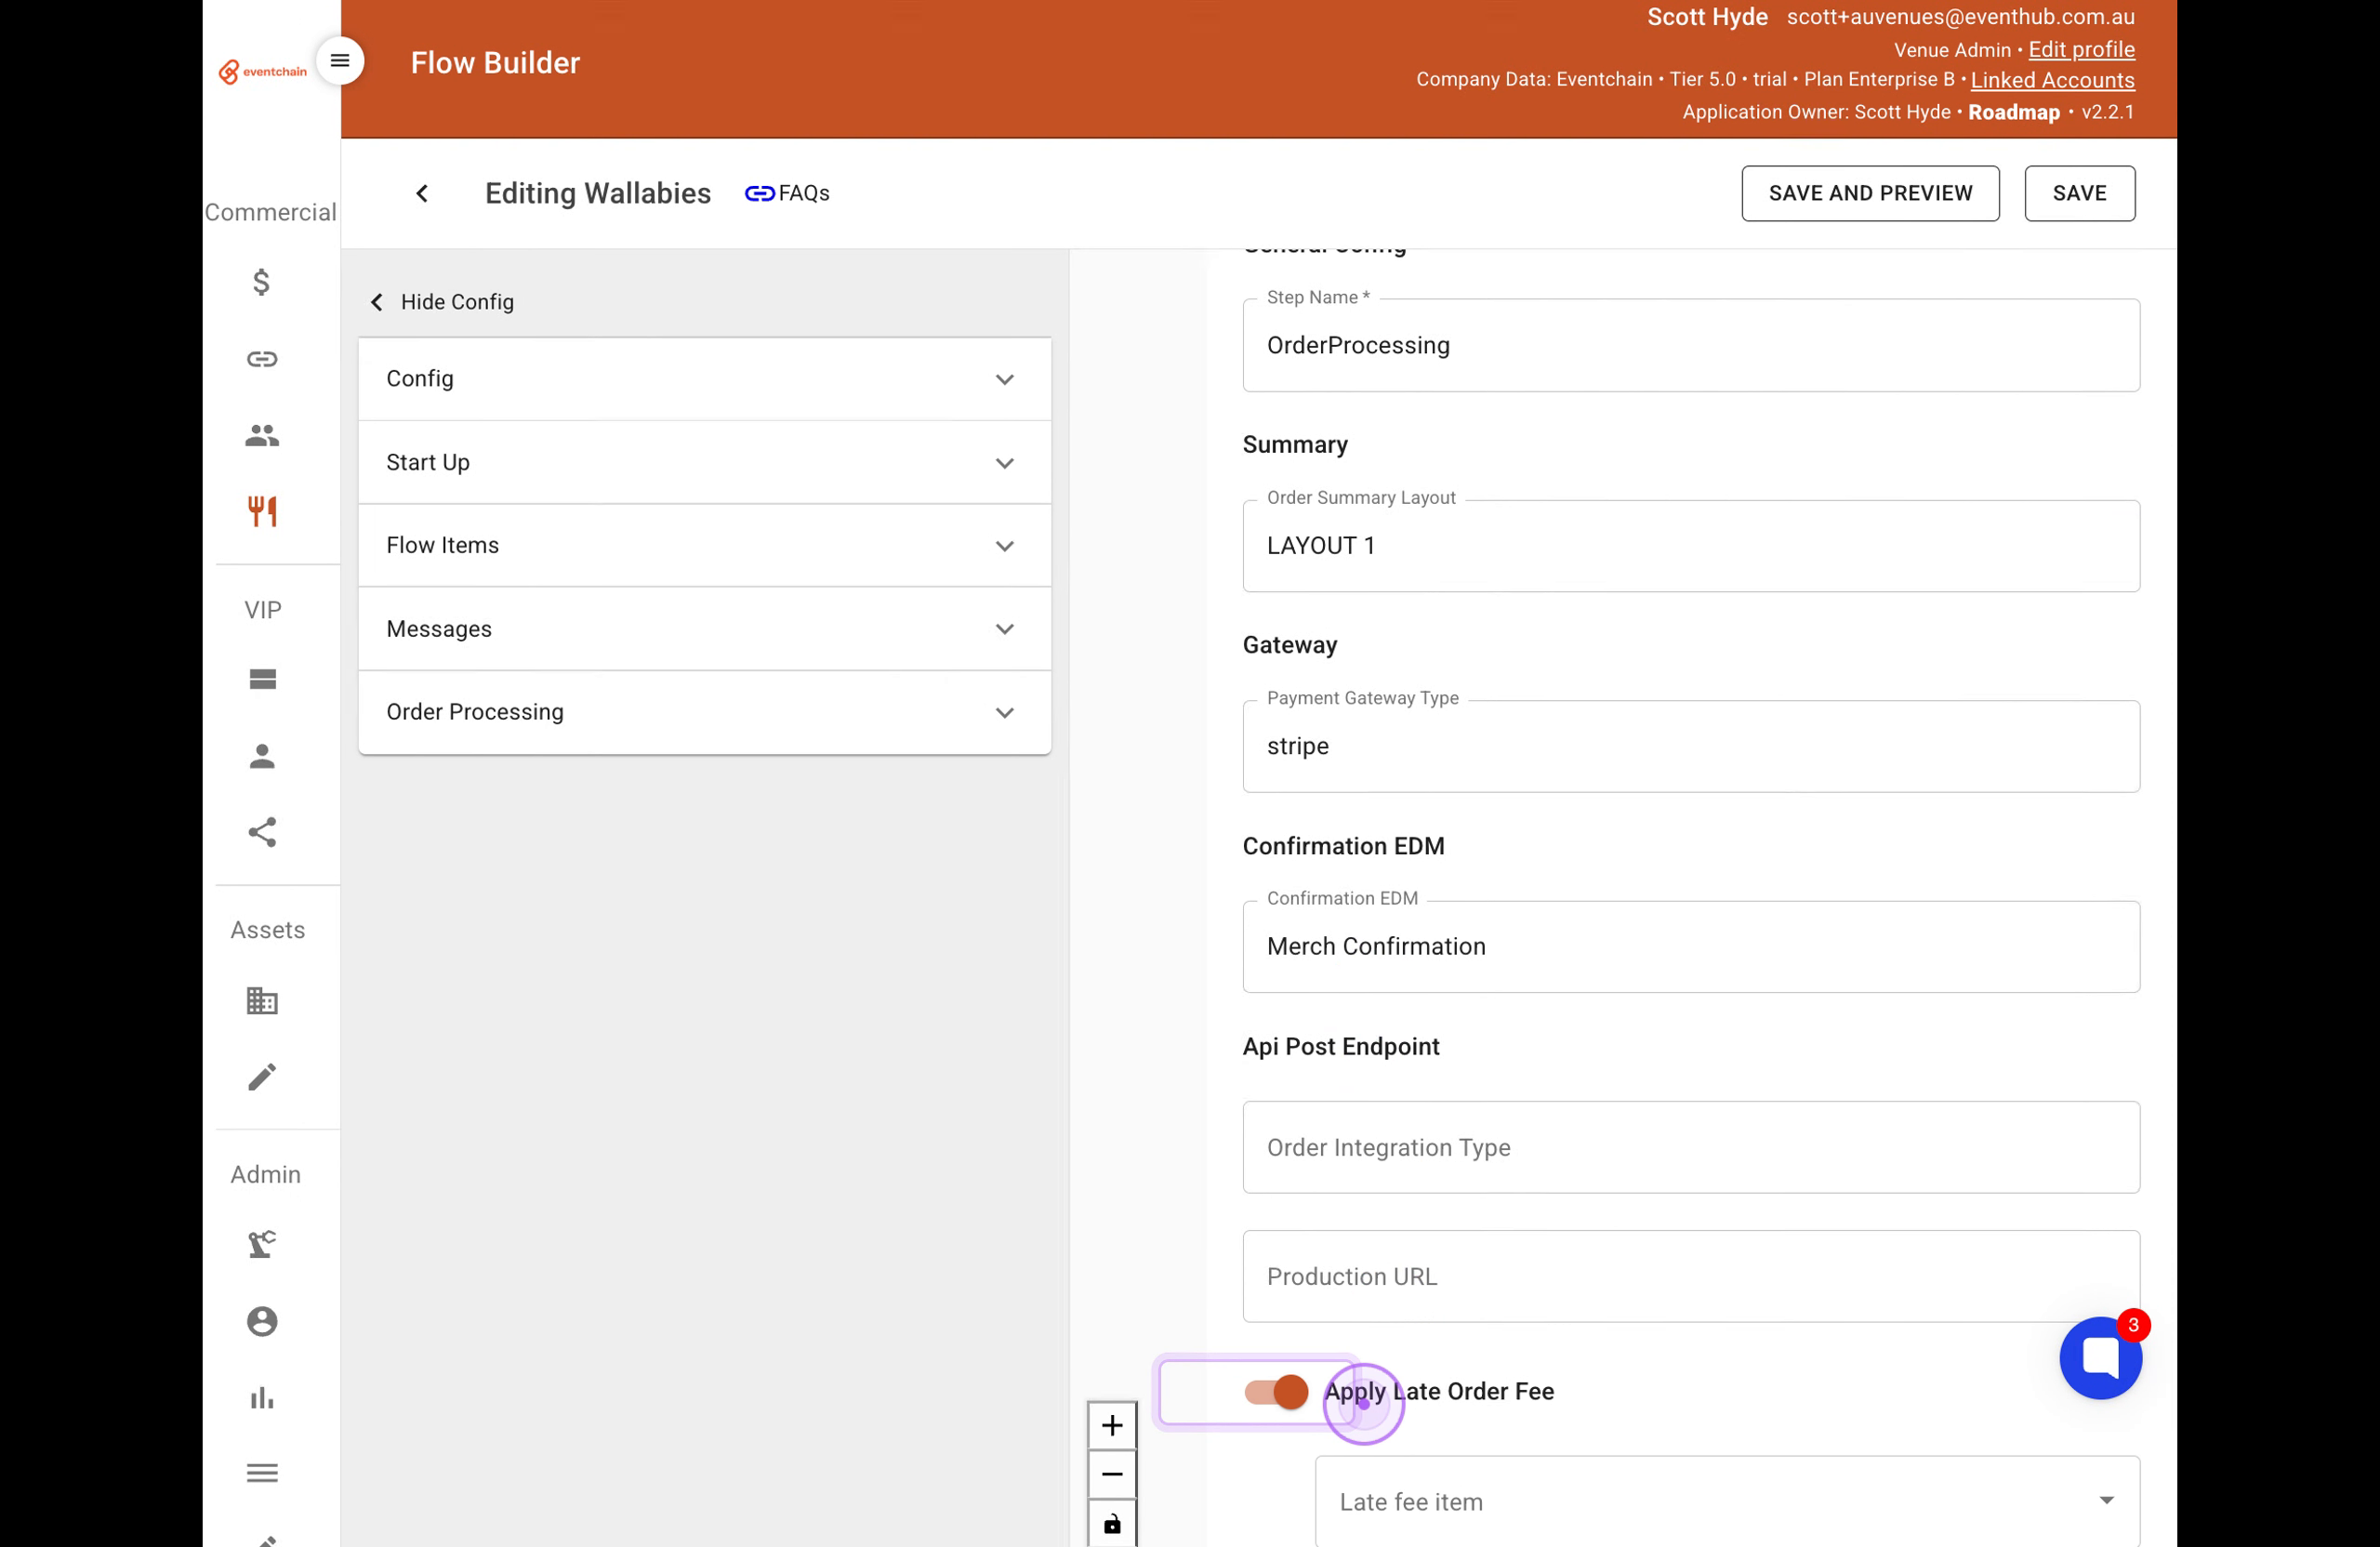
Select the Order Processing step on your canvas to open its configuration panel. Scroll down to find the Apply Late Order Fee toggle and click it to enable automatic late fee application.
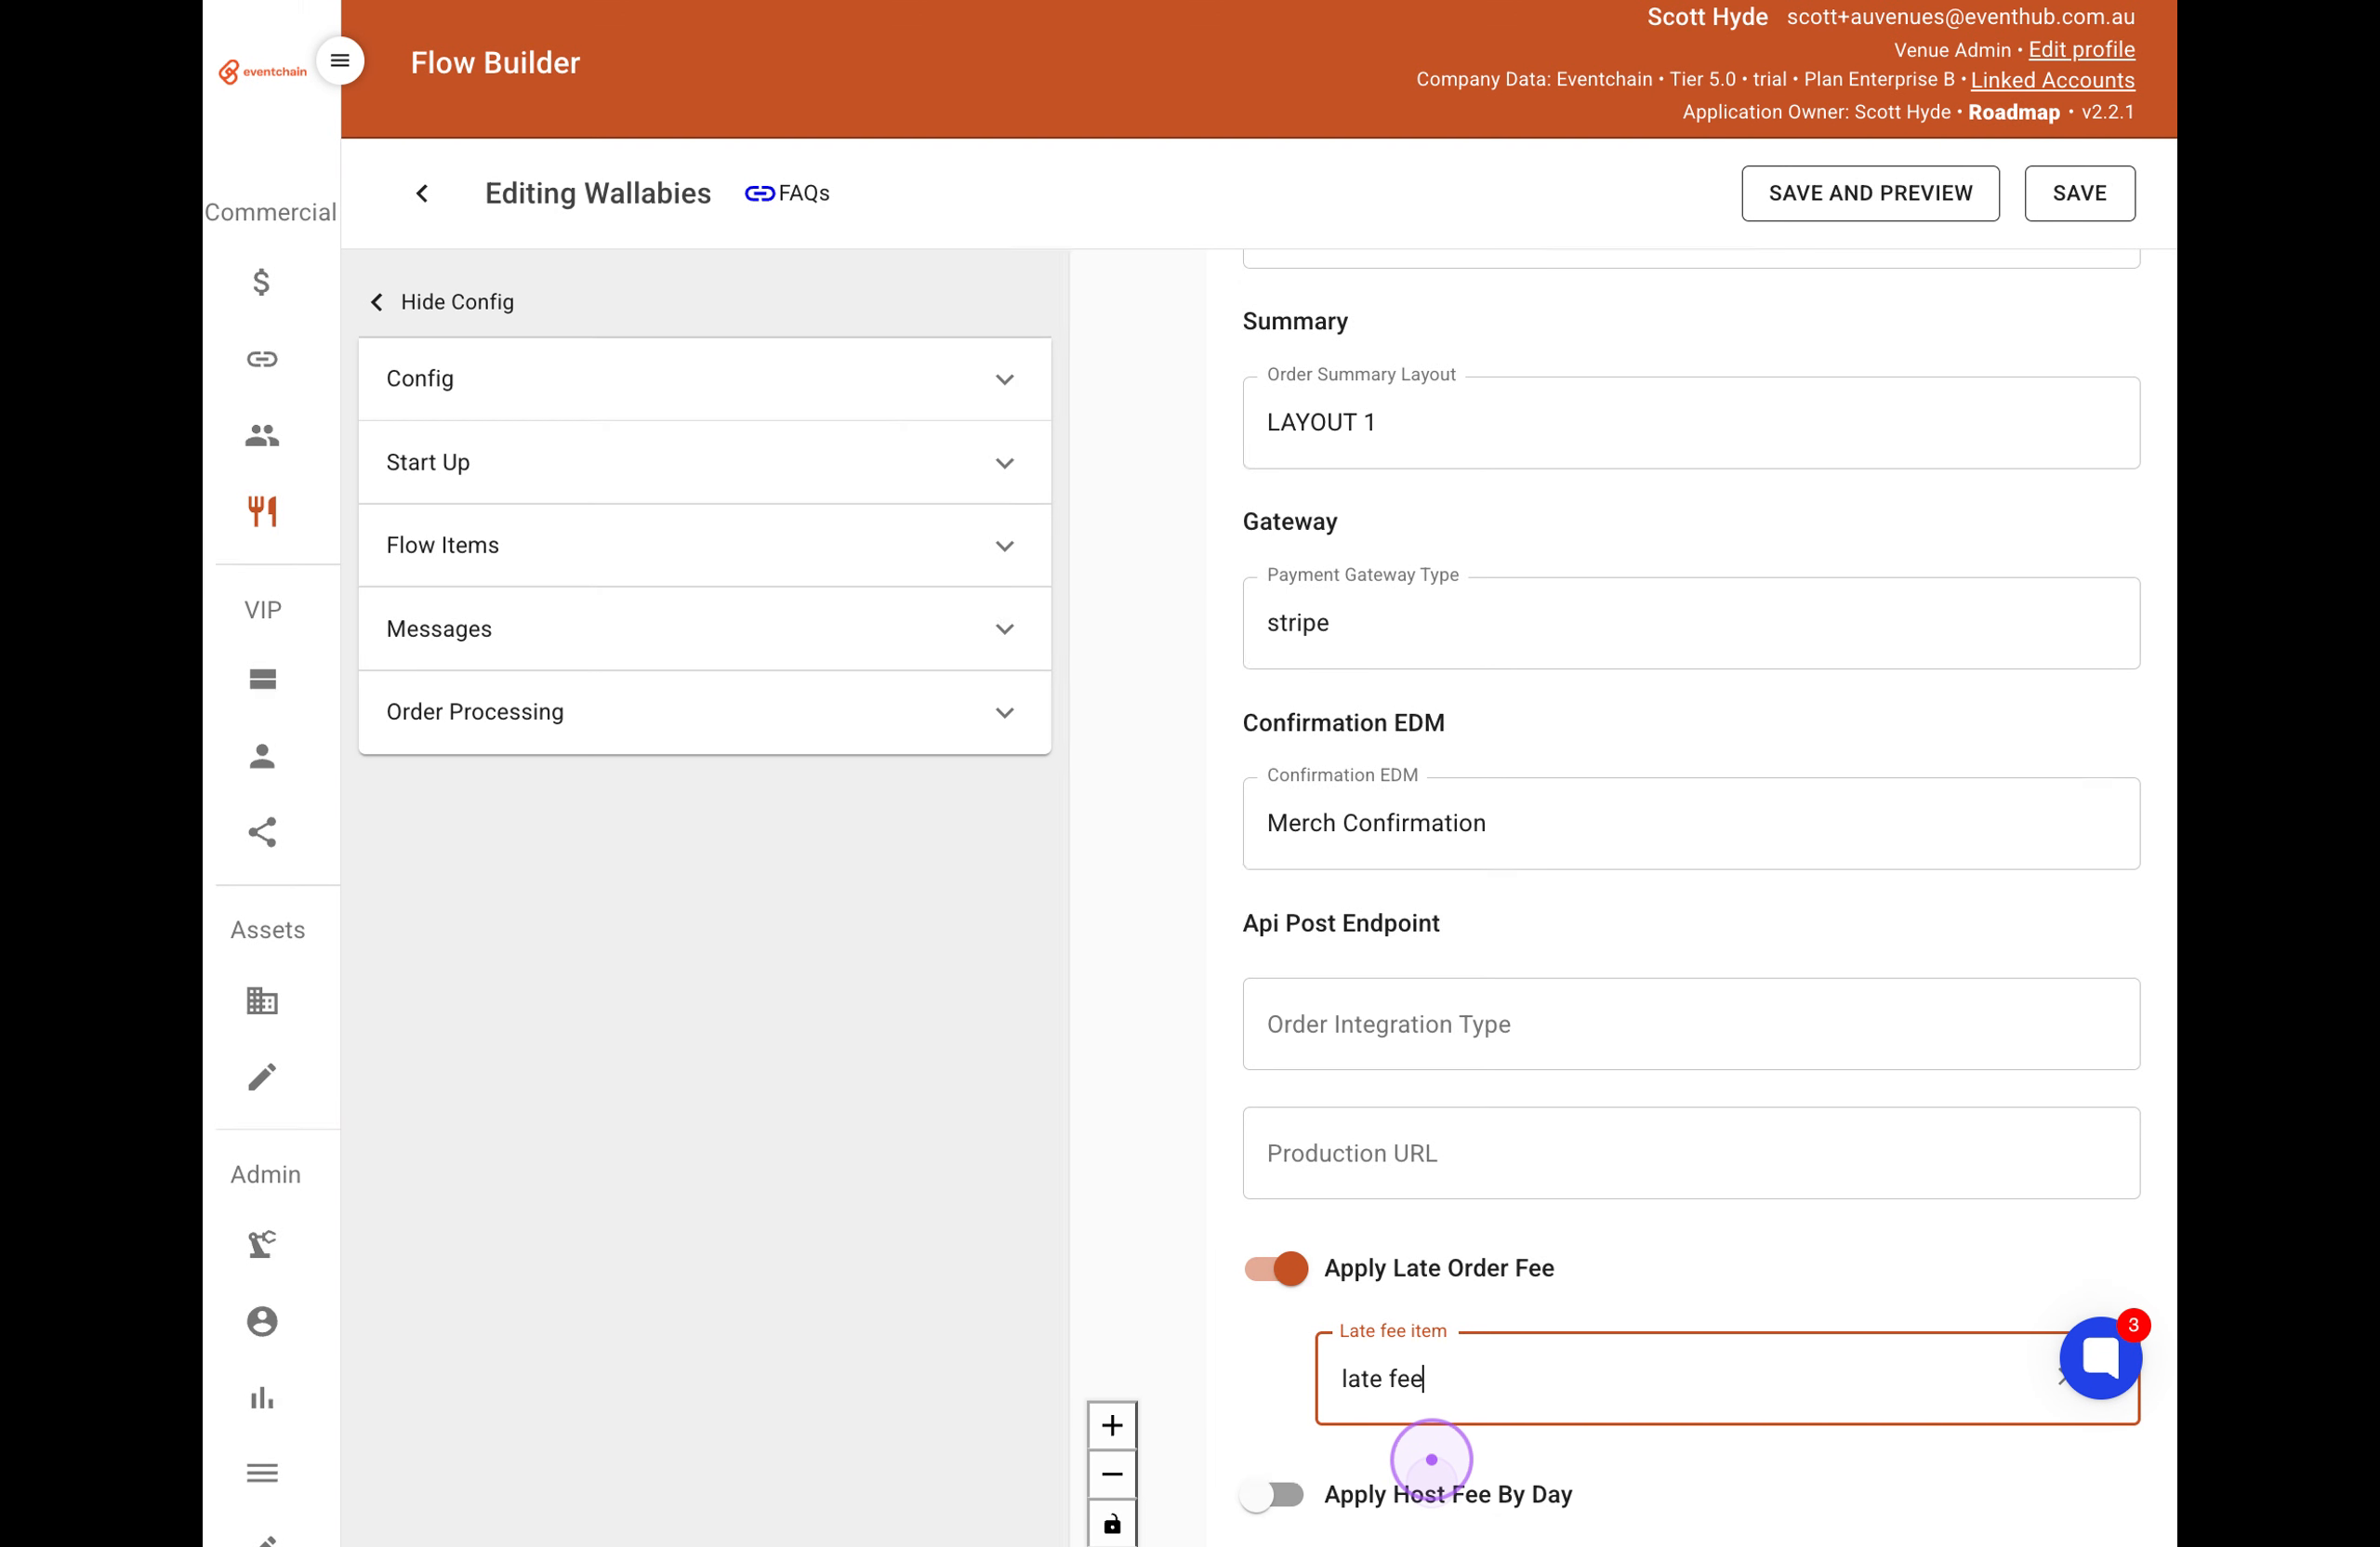
Click the Late fee item dropdown and select late fee from the available options to specify which fee should be applied to late orders.
Click the Save button in the top-right corner to save all your late order fee configurations and commit your changes.
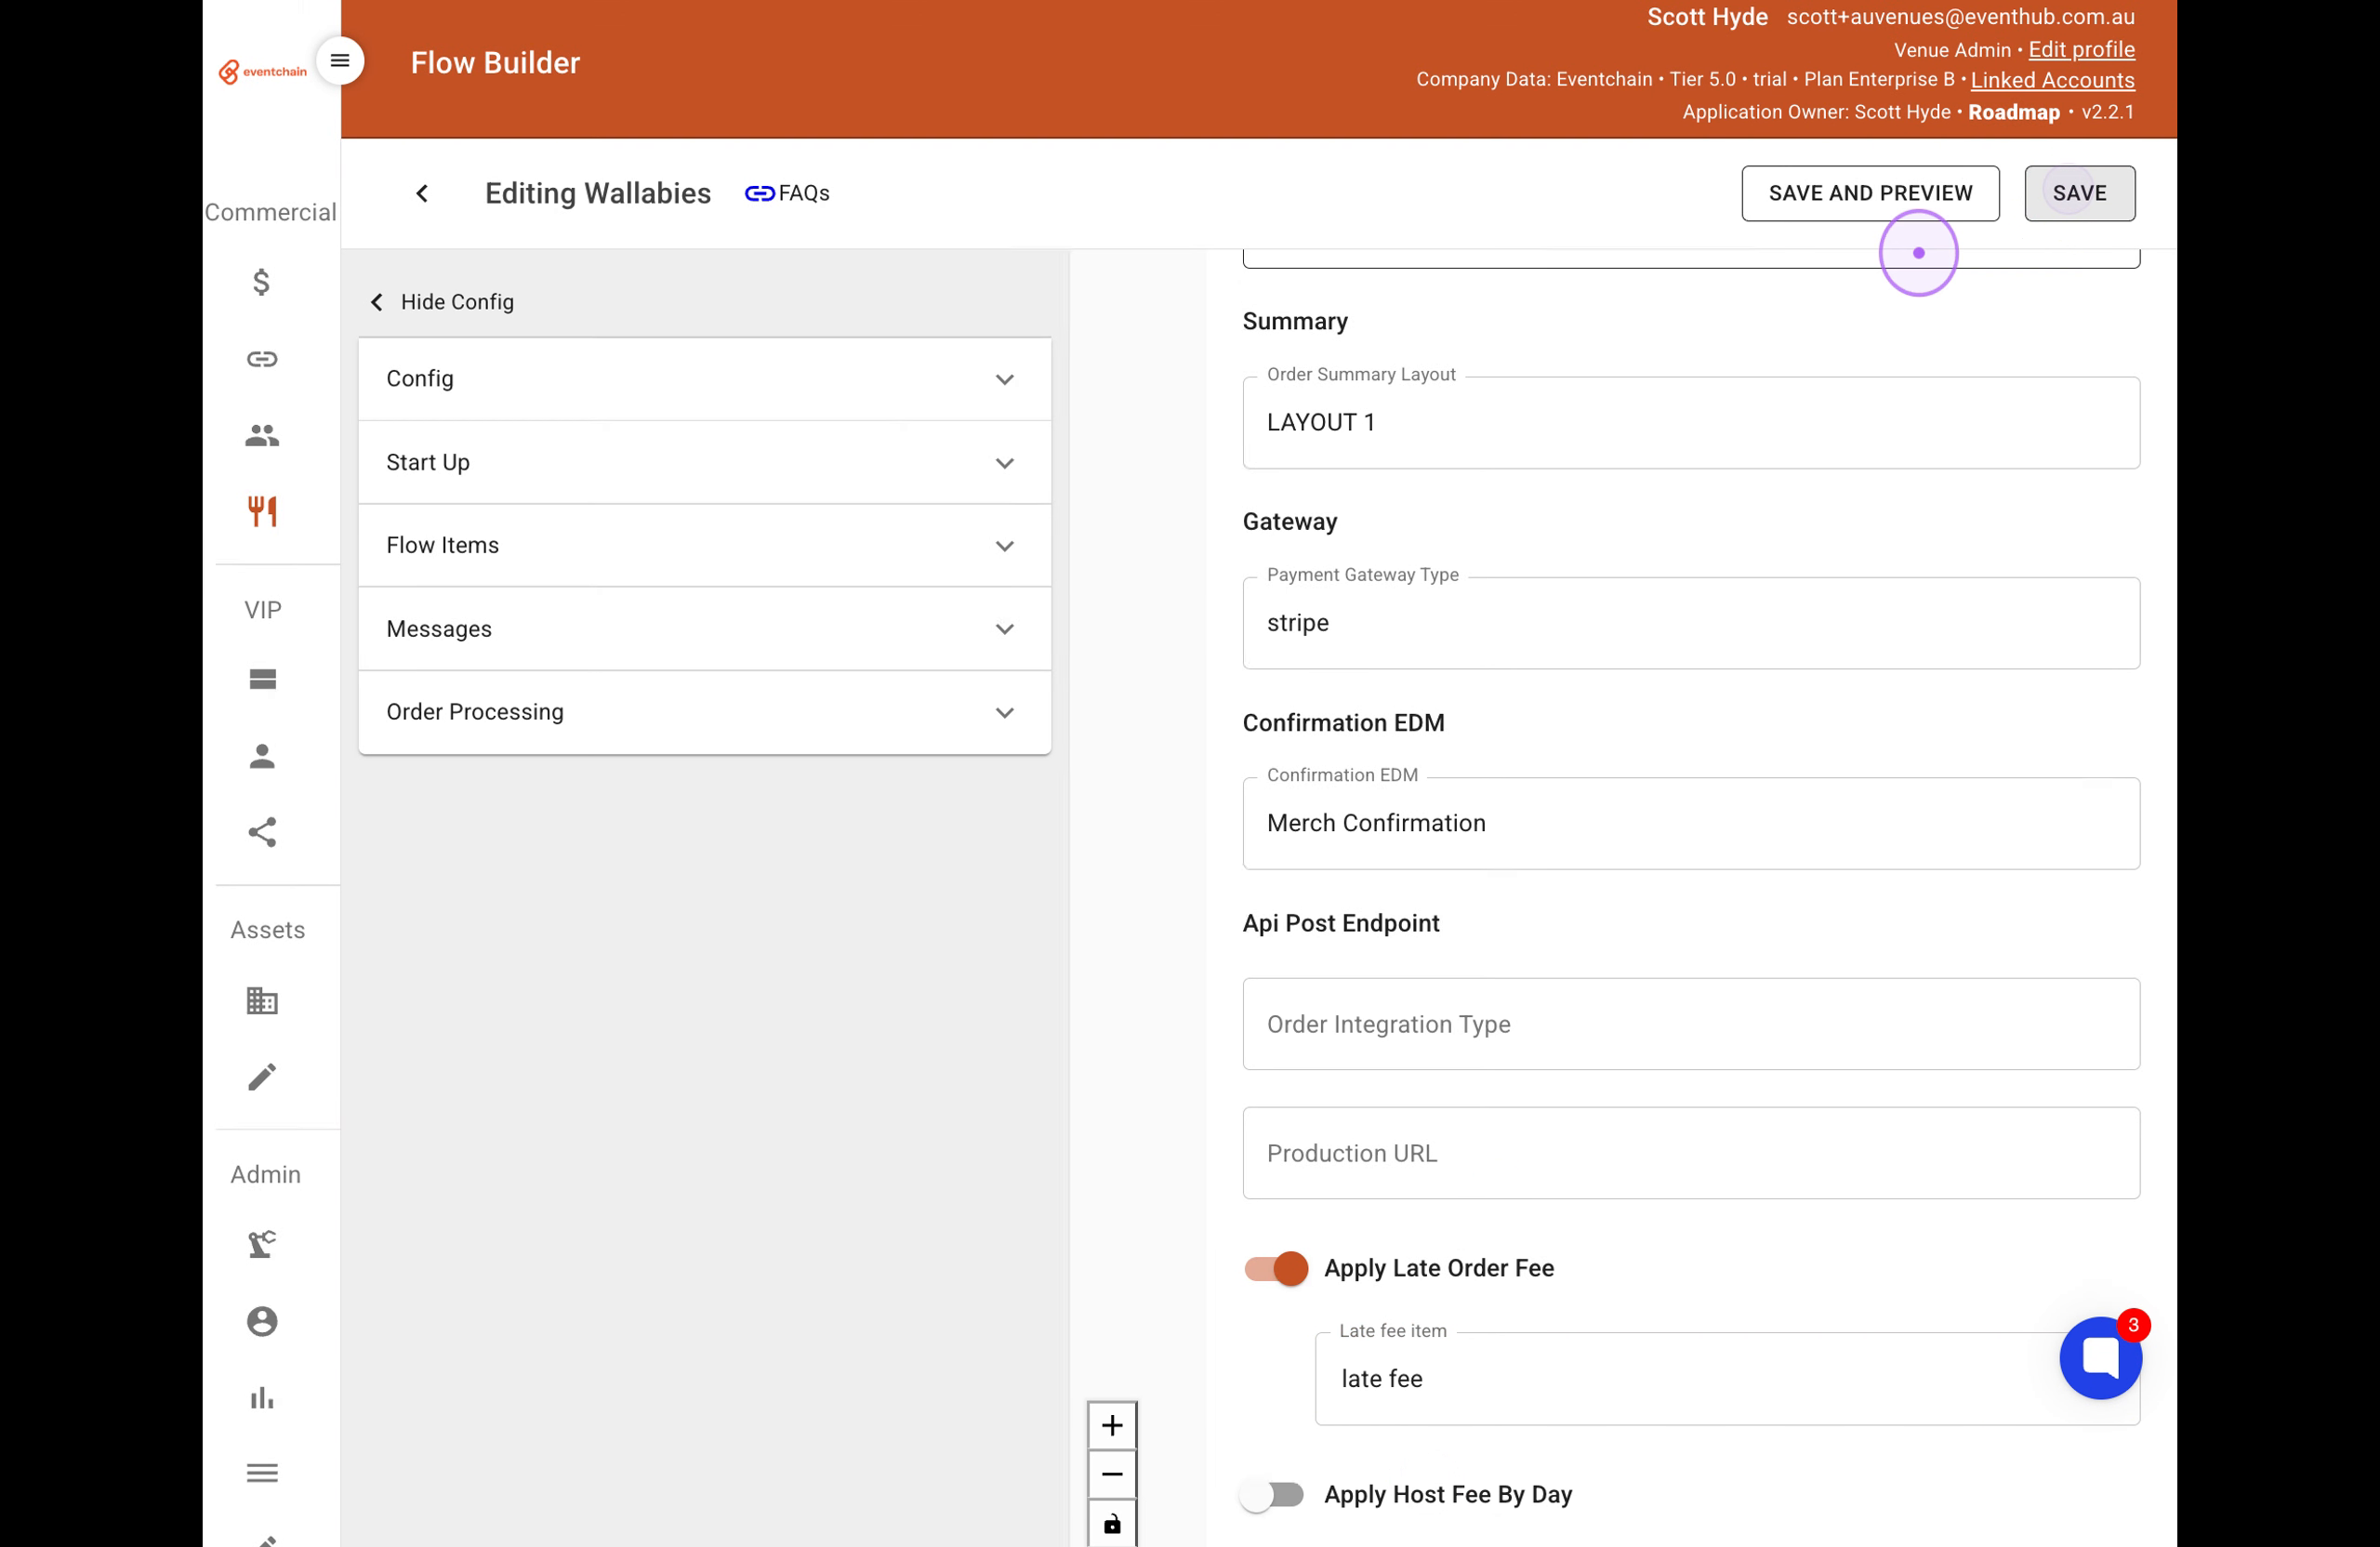
Your flow is now configured to handle late orders with automatic fee application. When users proceed through the Page Menus step marked as 'late order' and reach the Order Processing step, the system will automatically apply the selected late fee.