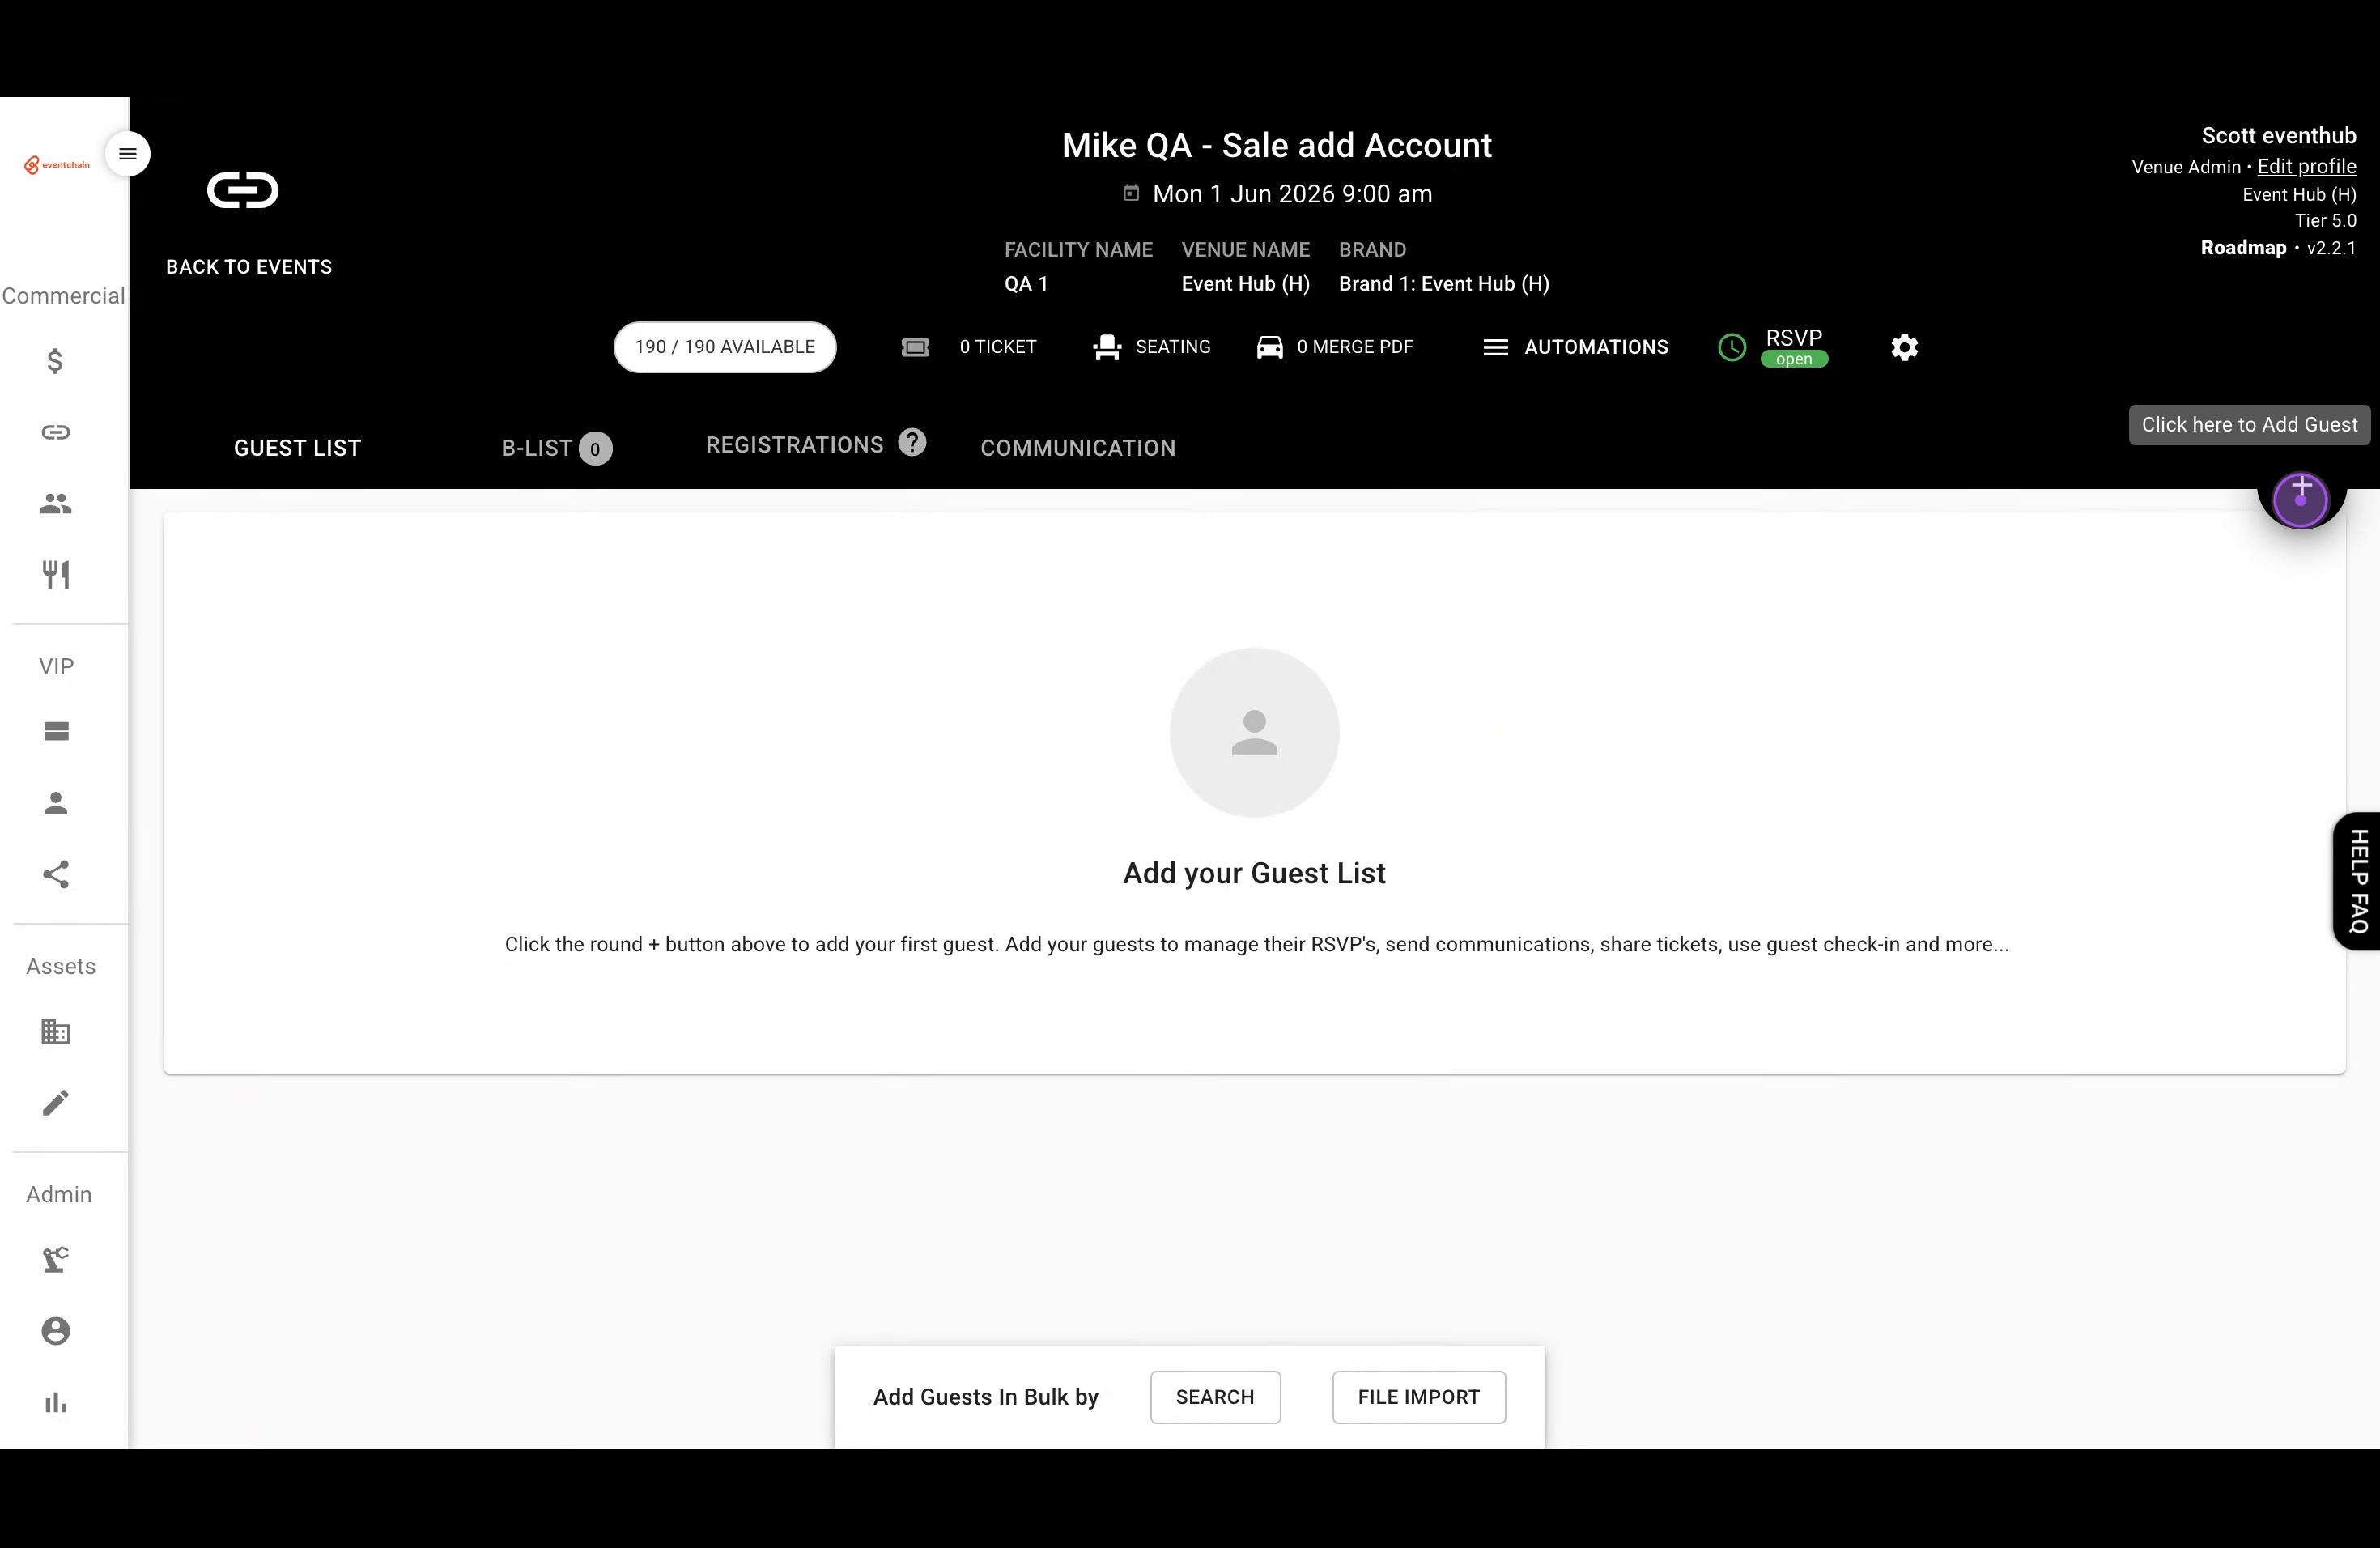
This guide walks you through adding guests to your event from existing contacts and using Smart Filters to organize your guest list by source type.
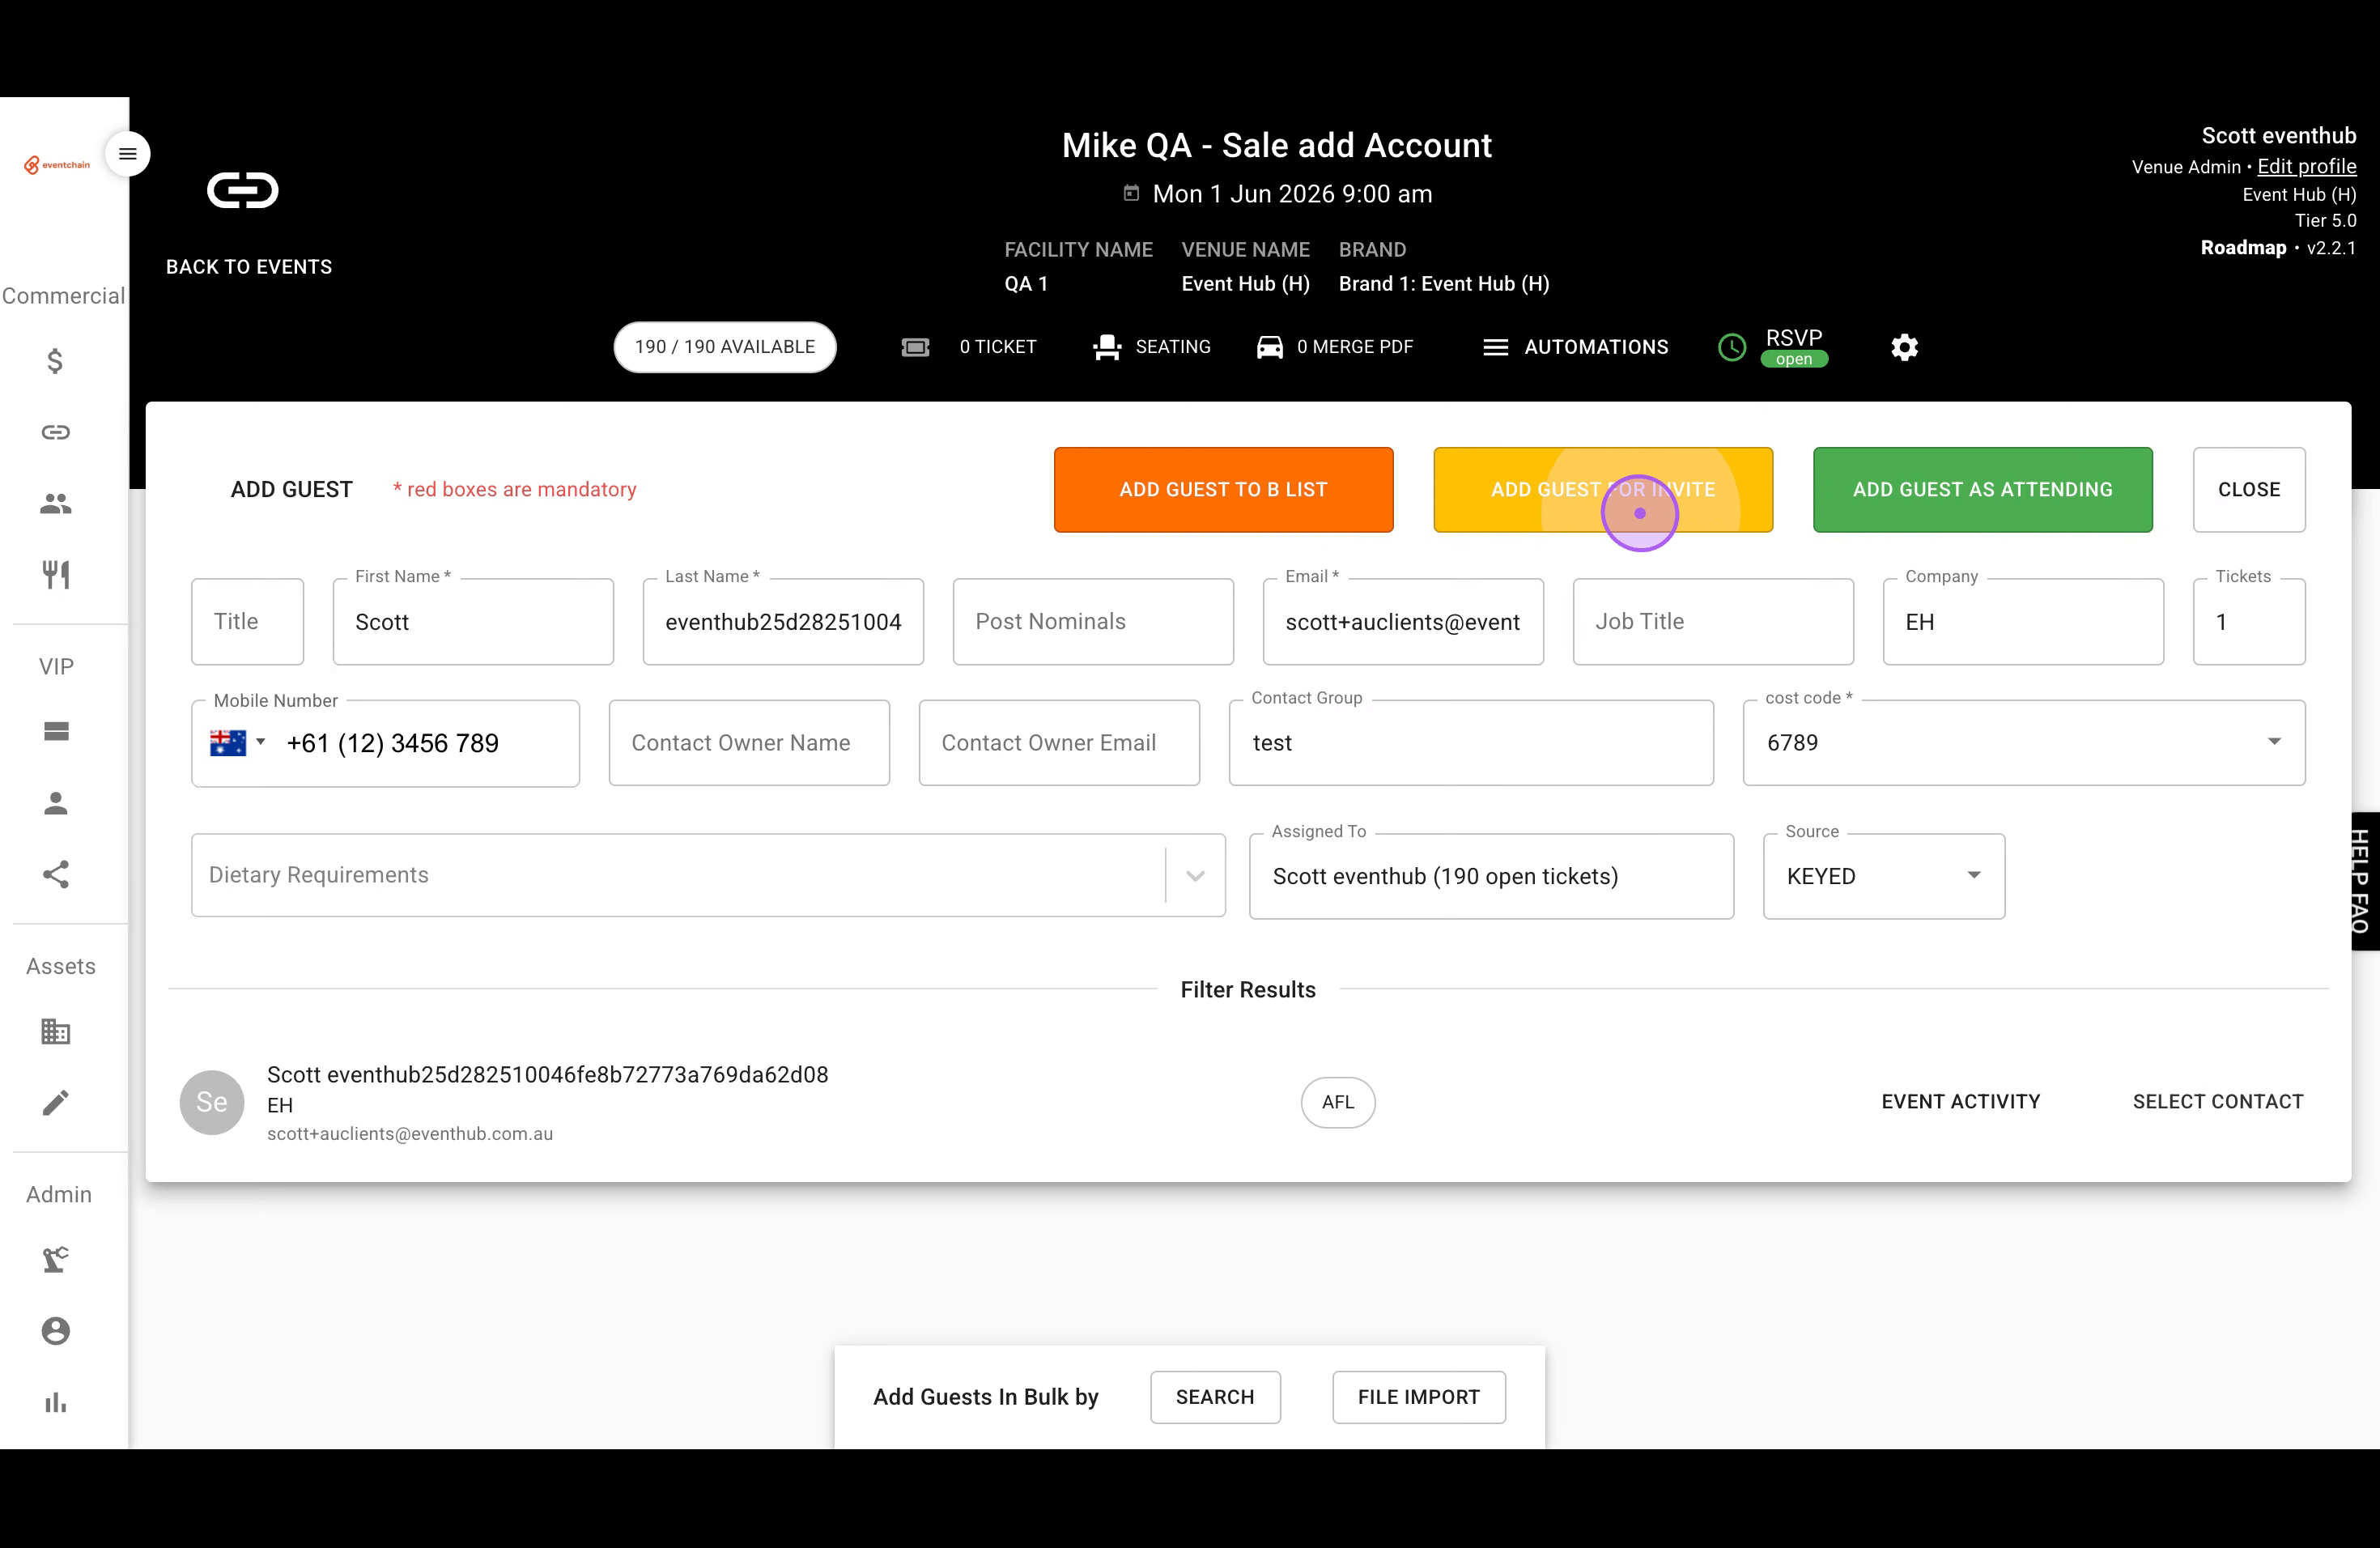
Click the plus (+) button in the top right corner to open the Add Guest form.
Type a name in the First Name field to search existing contacts, then click on the matching contact from the dropdown list.

Set the Cost Code and Source fields by clicking each dropdown and selecting the appropriate values (e.g., Cost Code: 12345, Source: INVOICED).

Click the yellow ADD GUEST FOR INVITE button to add the configured guest to your event.

Repeat the process to add more guests: click the plus button, search for the contact, configure details, and click ADD GUEST FOR INVITE.
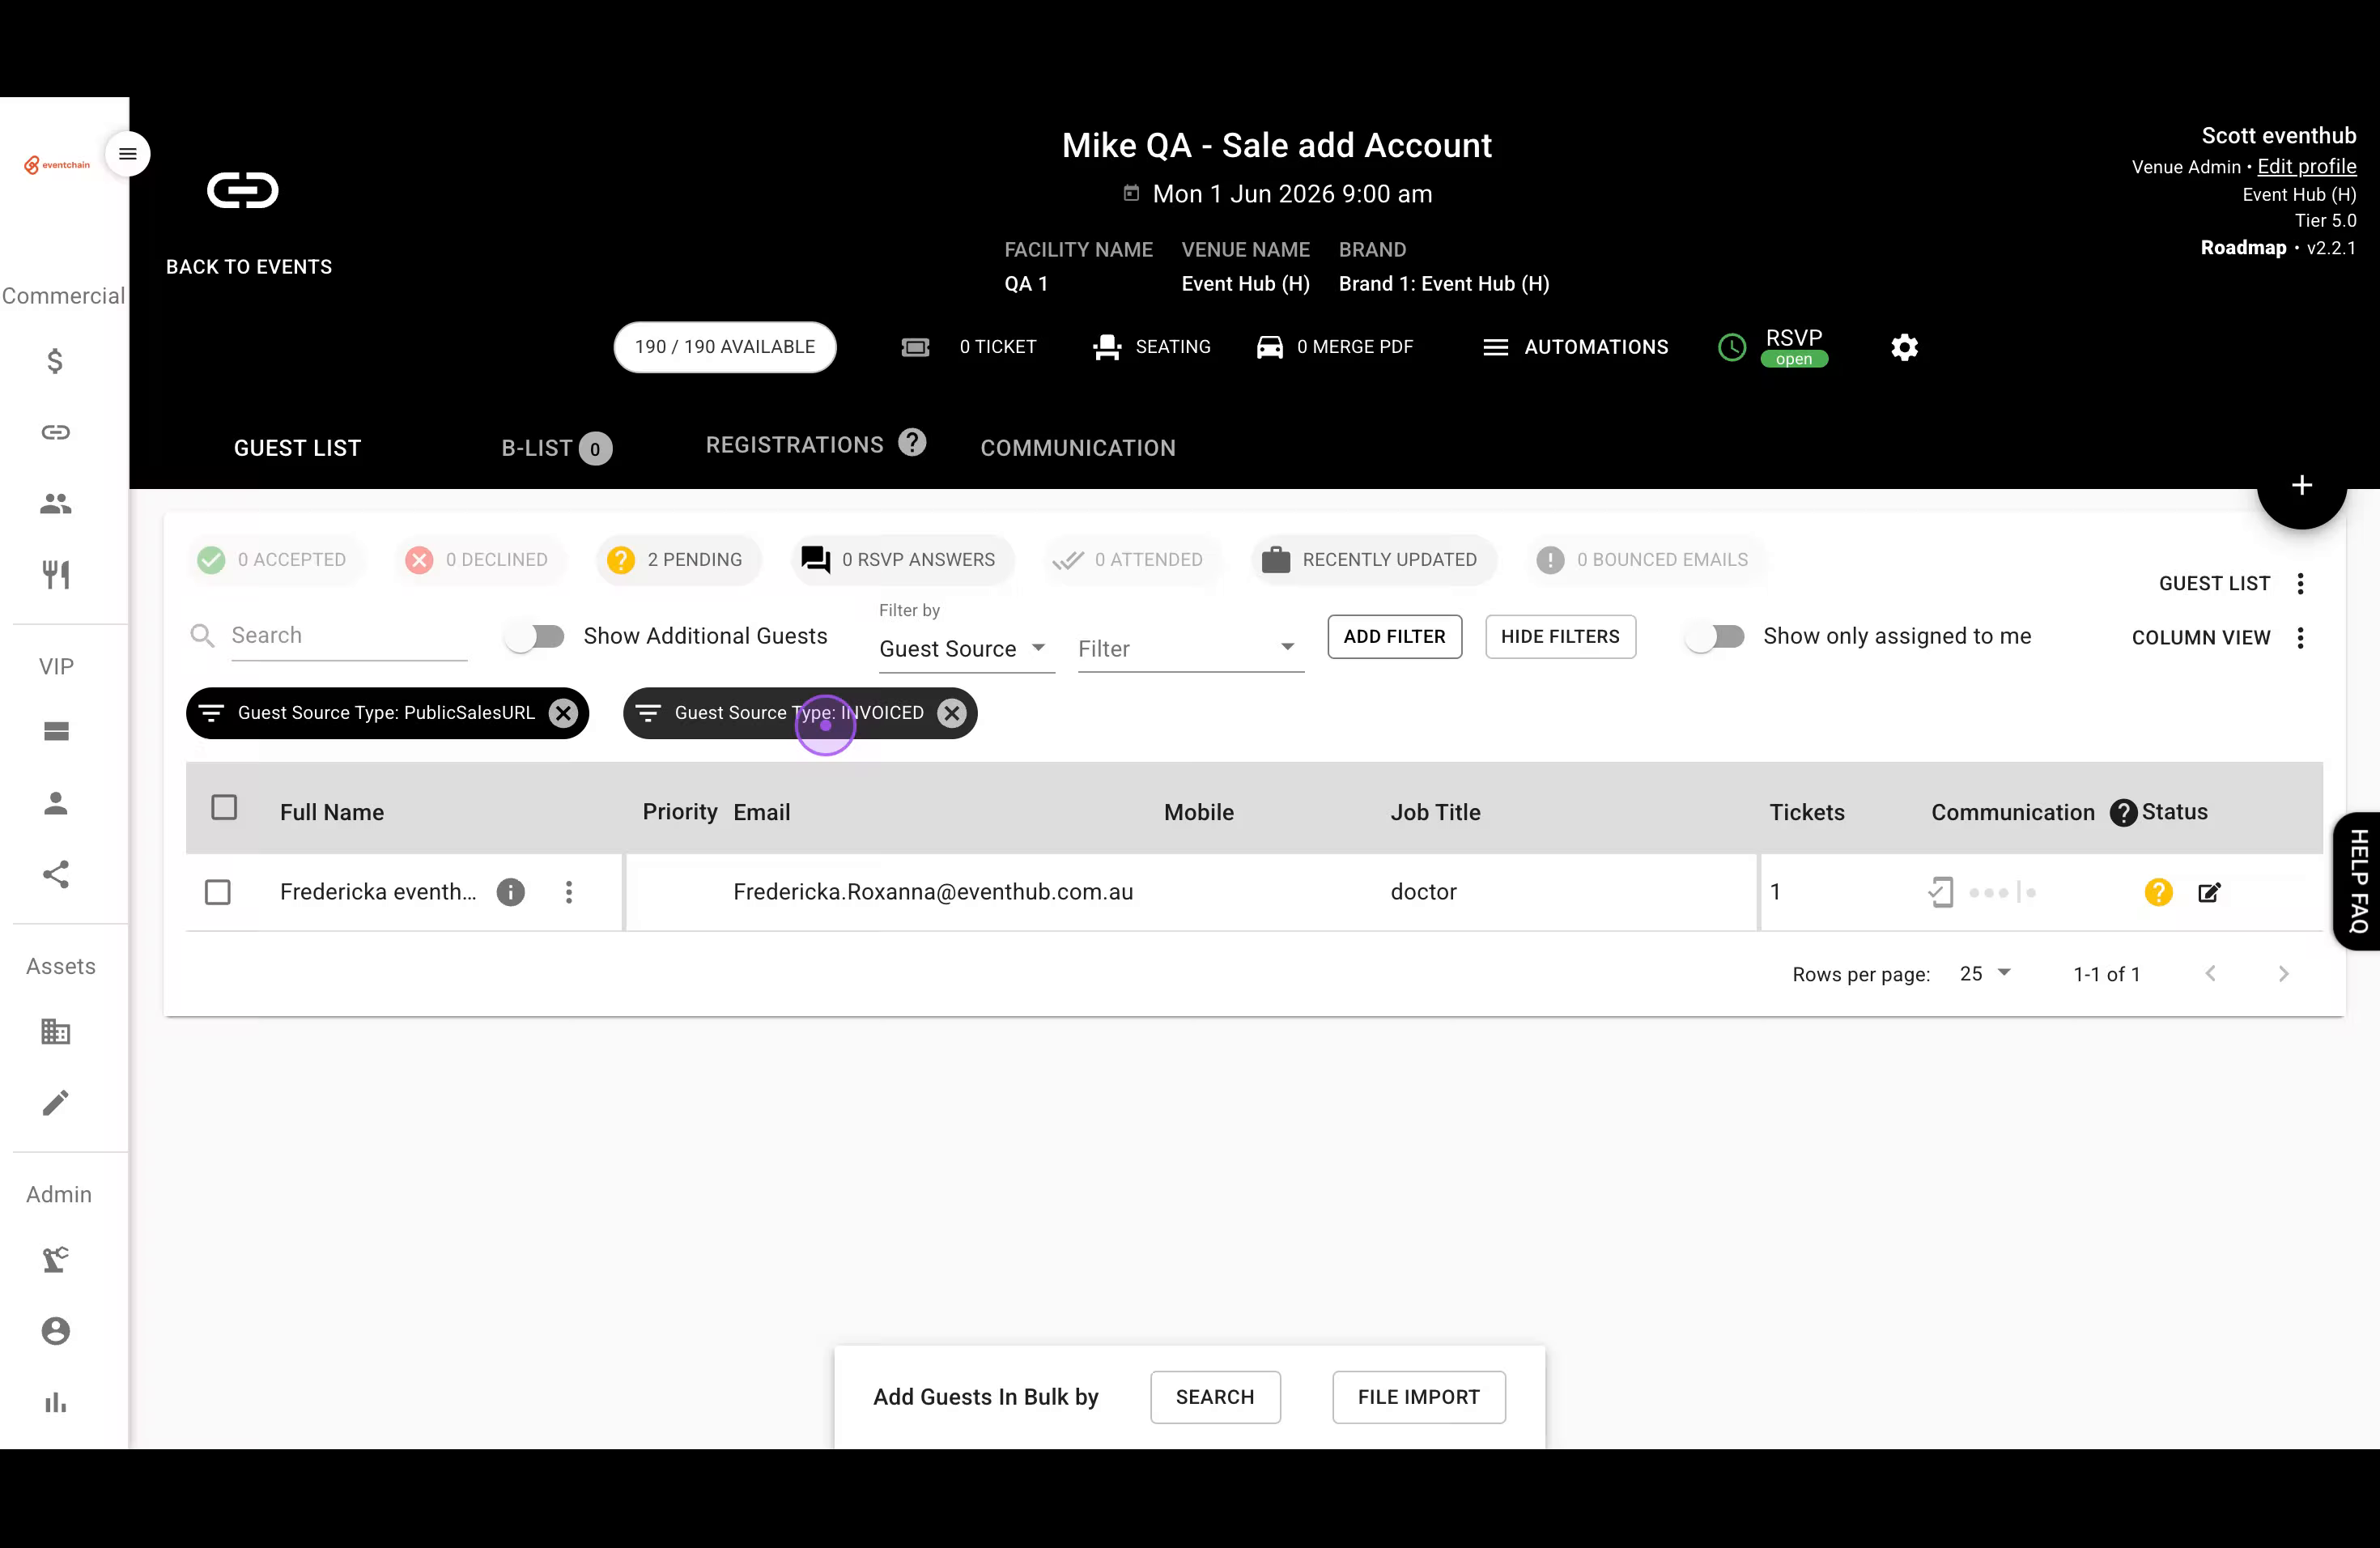
Click on Smart Filters to open the filtering panel, then select Guest Source as the filter type from the dropdown.
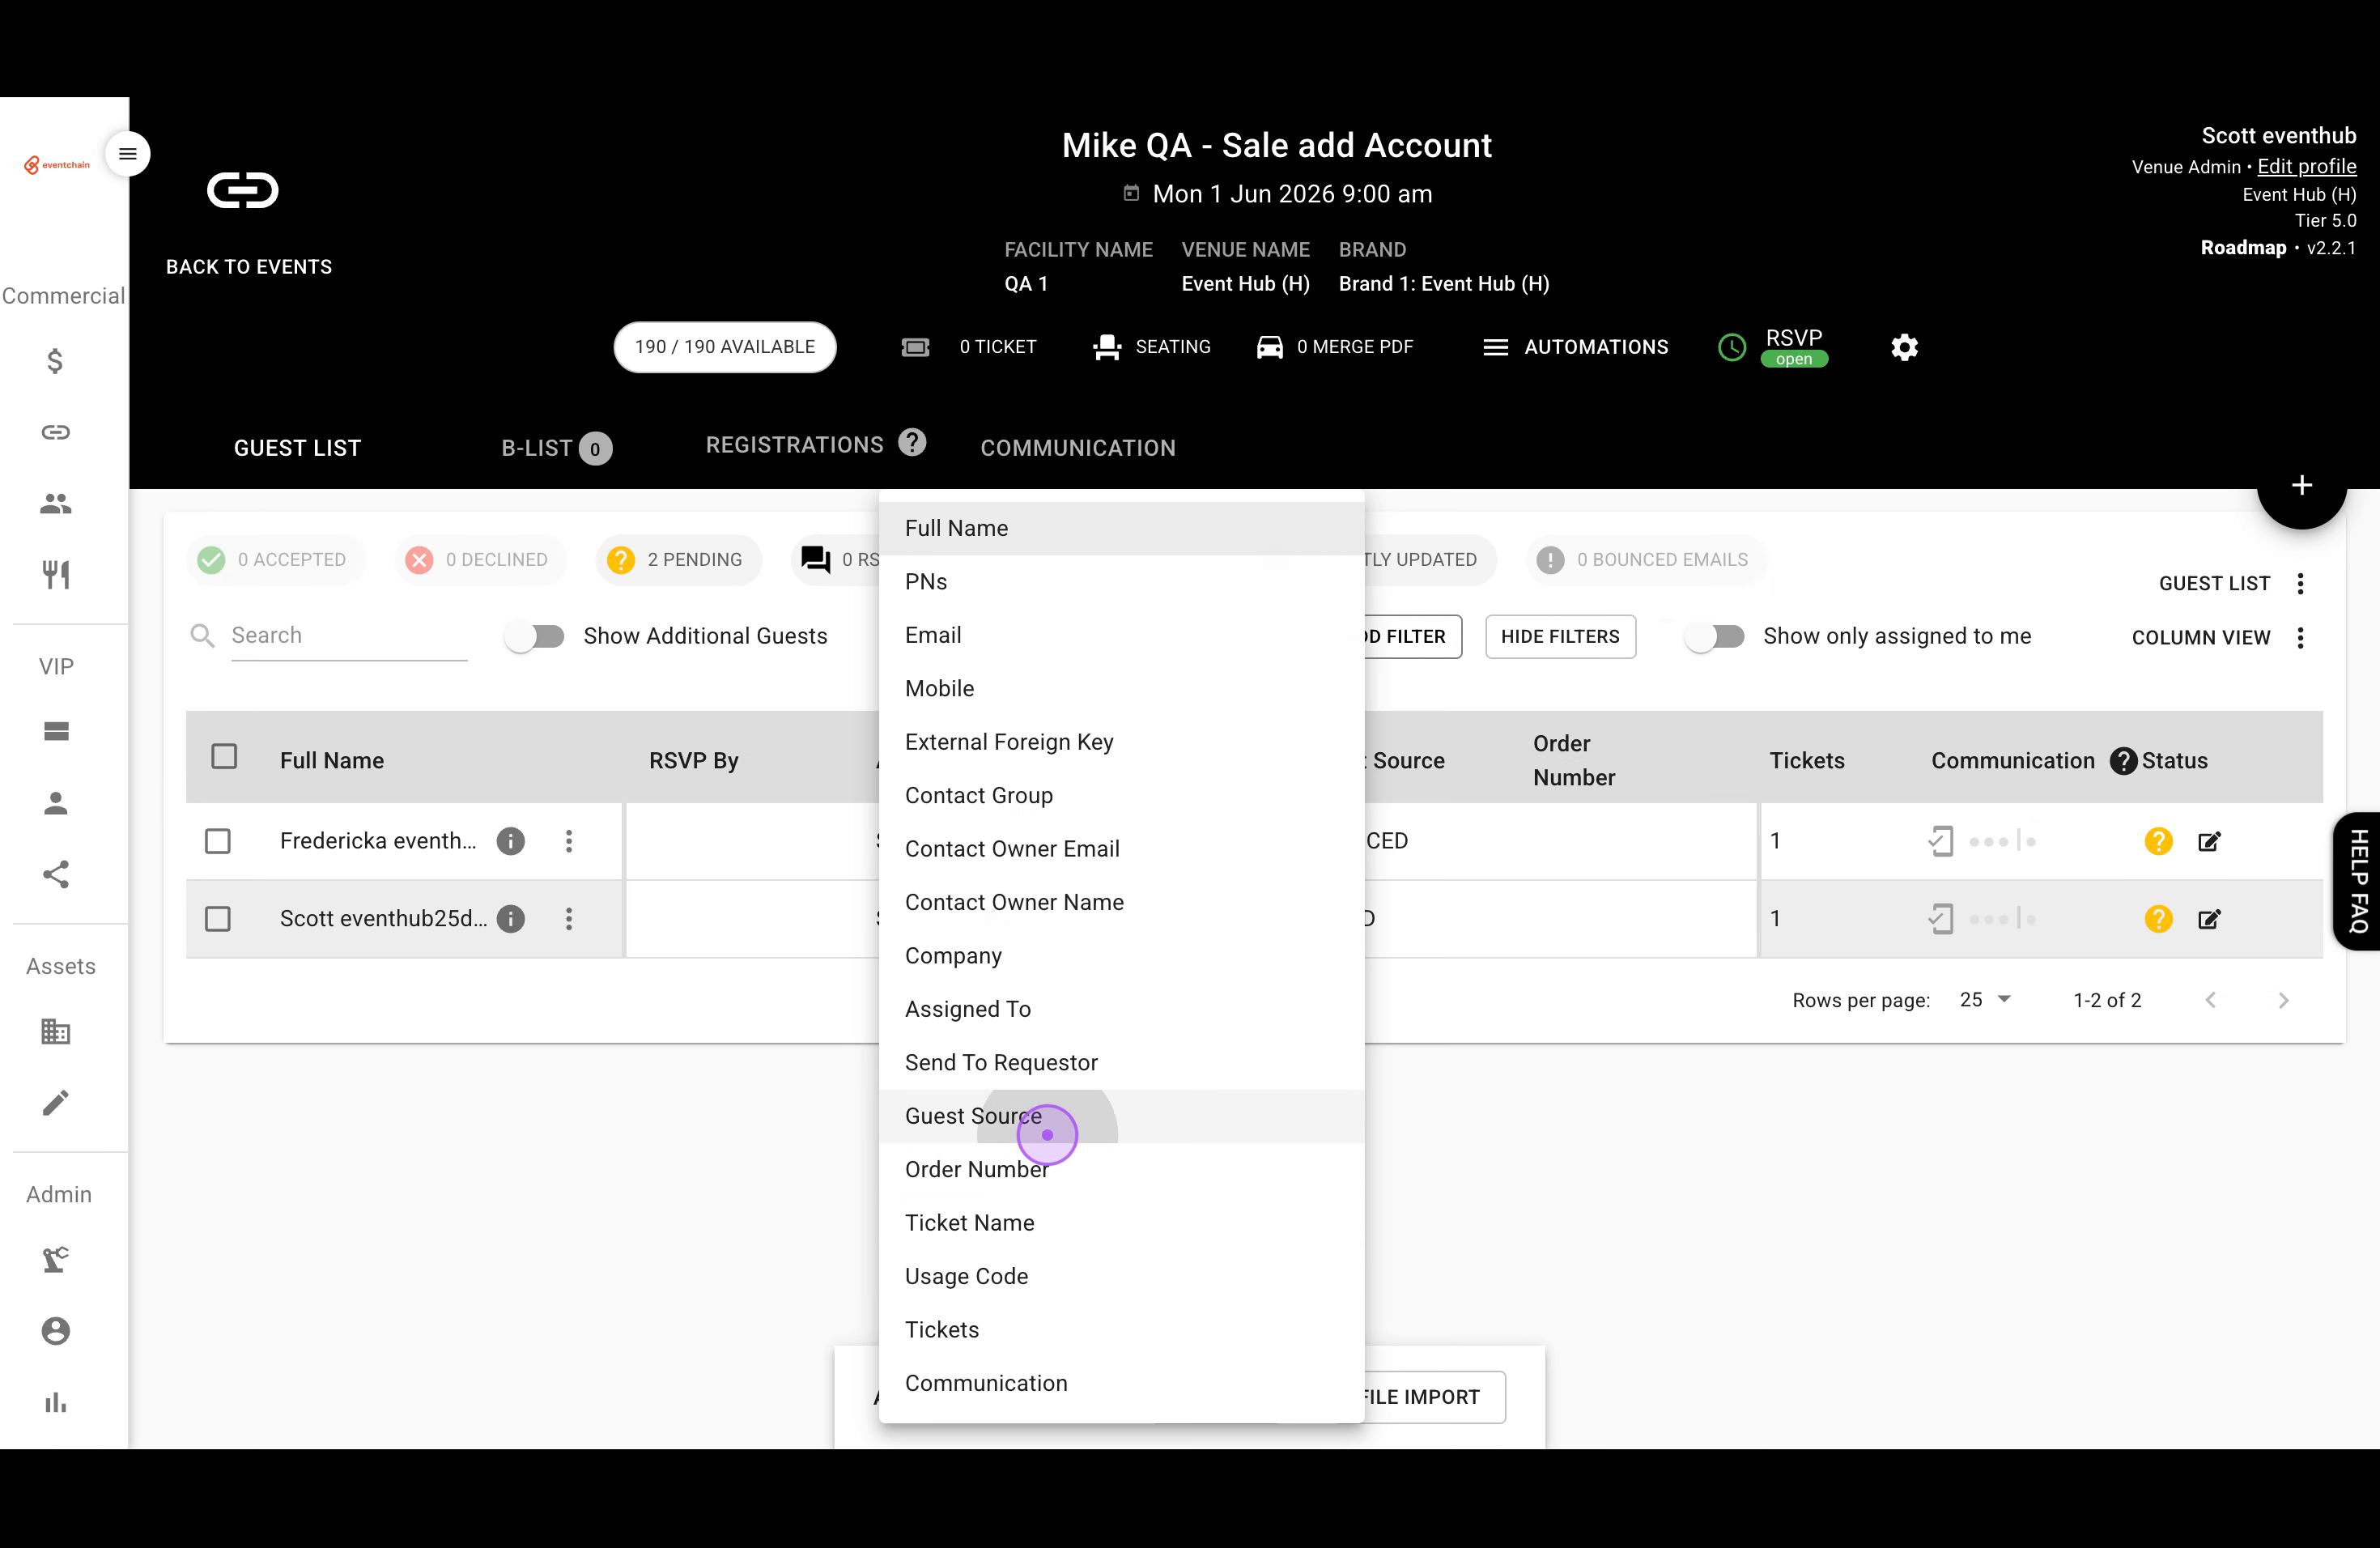
Select specific source types like PUBLIC SALES URL or INVOICED from the dropdown and click Add Filter to apply them to your guest list.
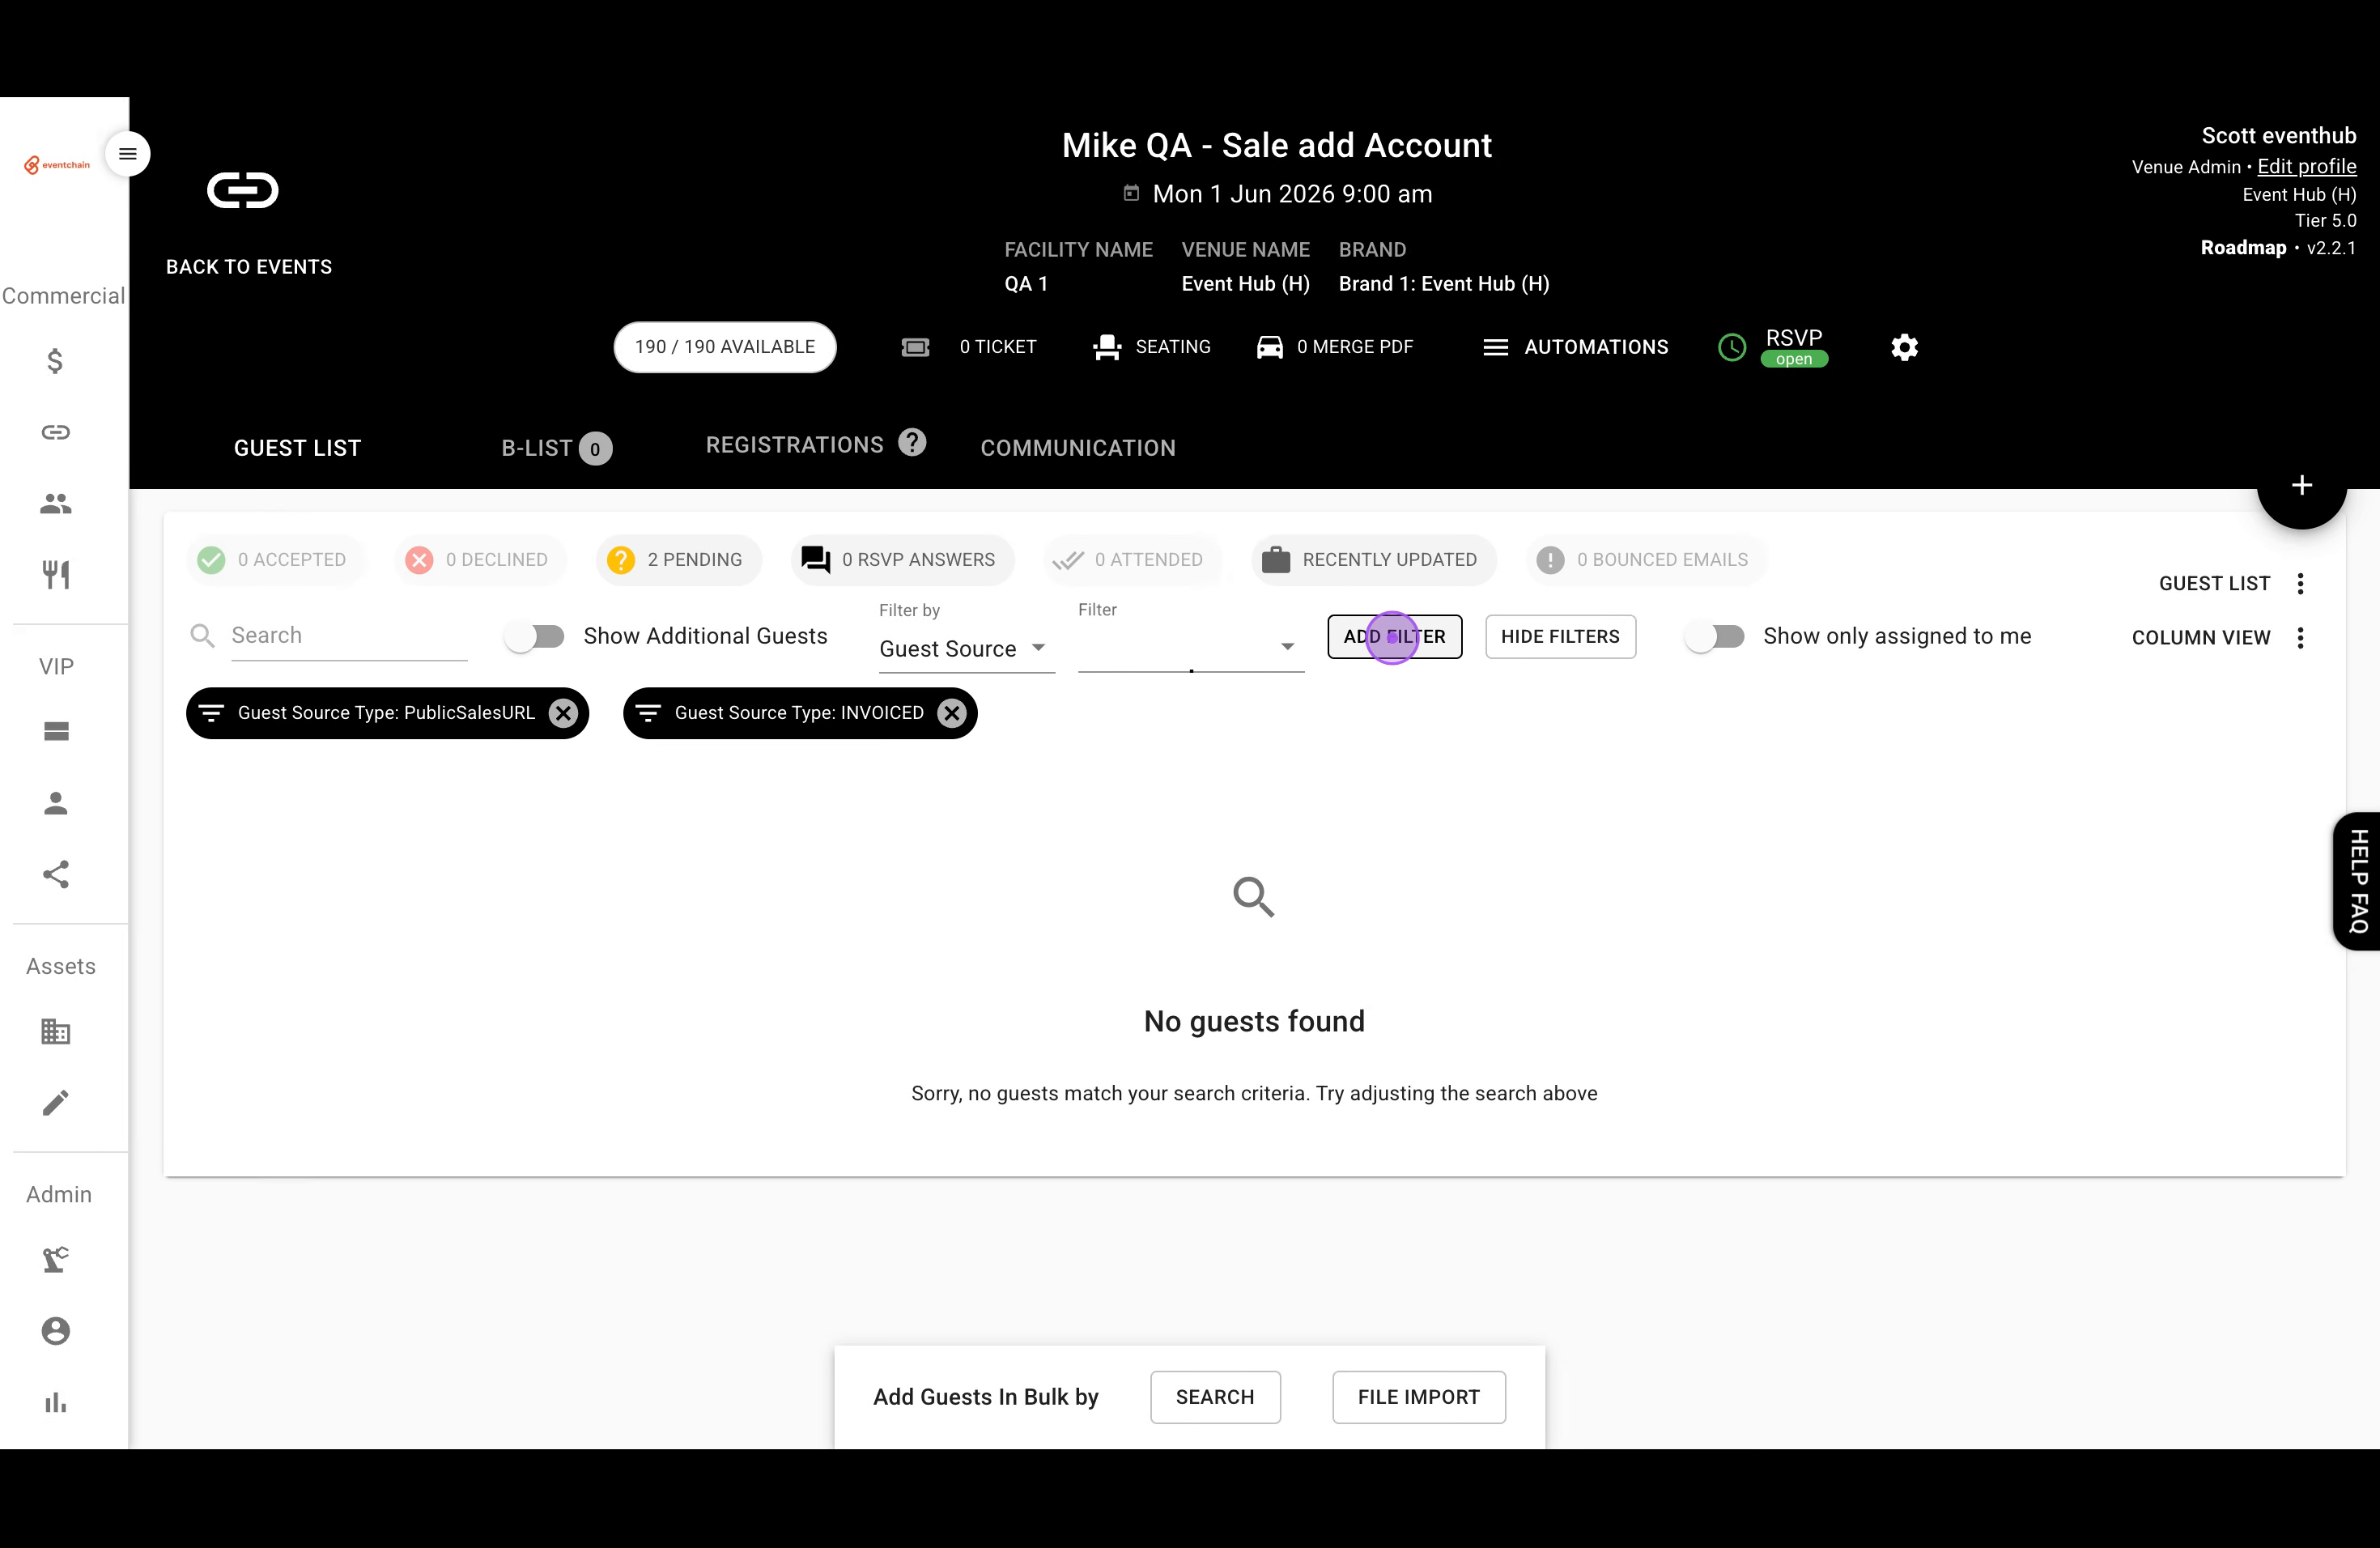
View the filtered guest list showing only guests matching your criteria. Active filters appear as tags at the top which you can click to modify or remove.
Cost Codes: These help track budget allocation for different guest categories.
Source Tracking: Use the Source field to distinguish between guests added via invoice, public sales URL, or other methods.
Filter Combinations: Combine multiple filters to create specific views, such as showing only invoiced guests from public sales.