This guide walks you through importing client sub profiles using a CSV file. You'll upload your file, map the required columns, validate the data, and complete the import process.

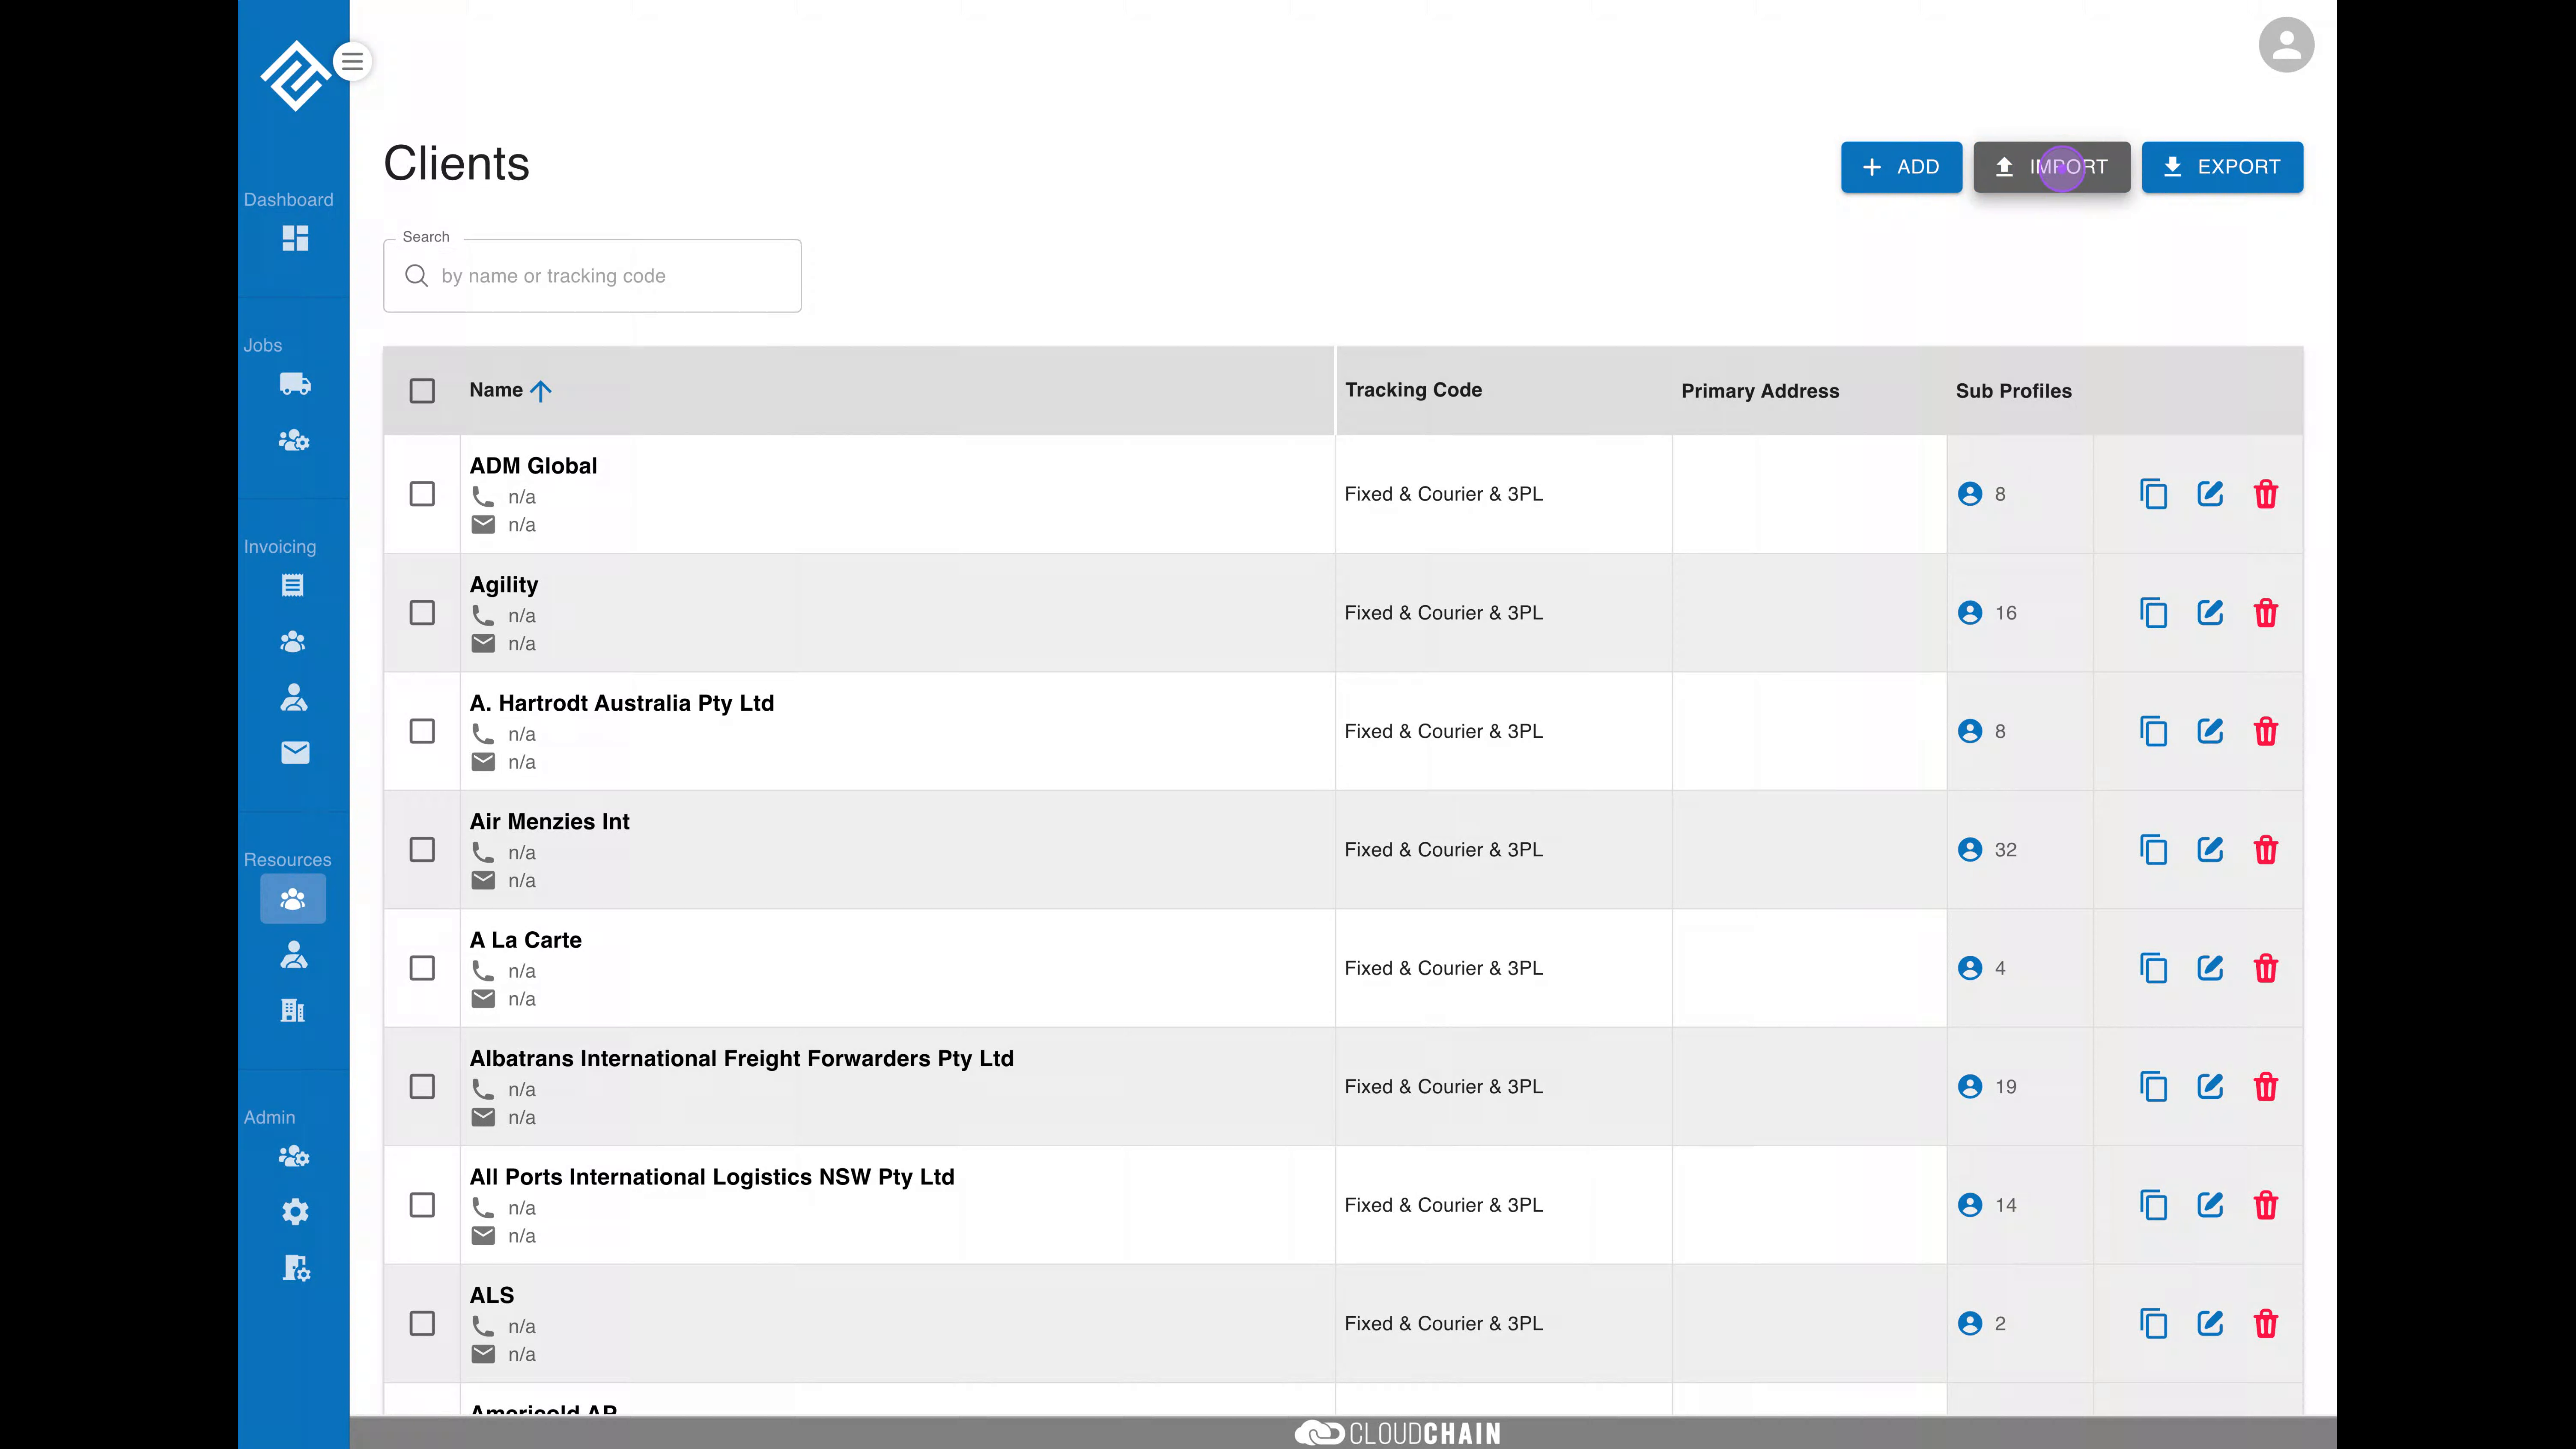
Navigate to the Clients page and click the Import button located in the top-right corner of the screen to open the import dialog.
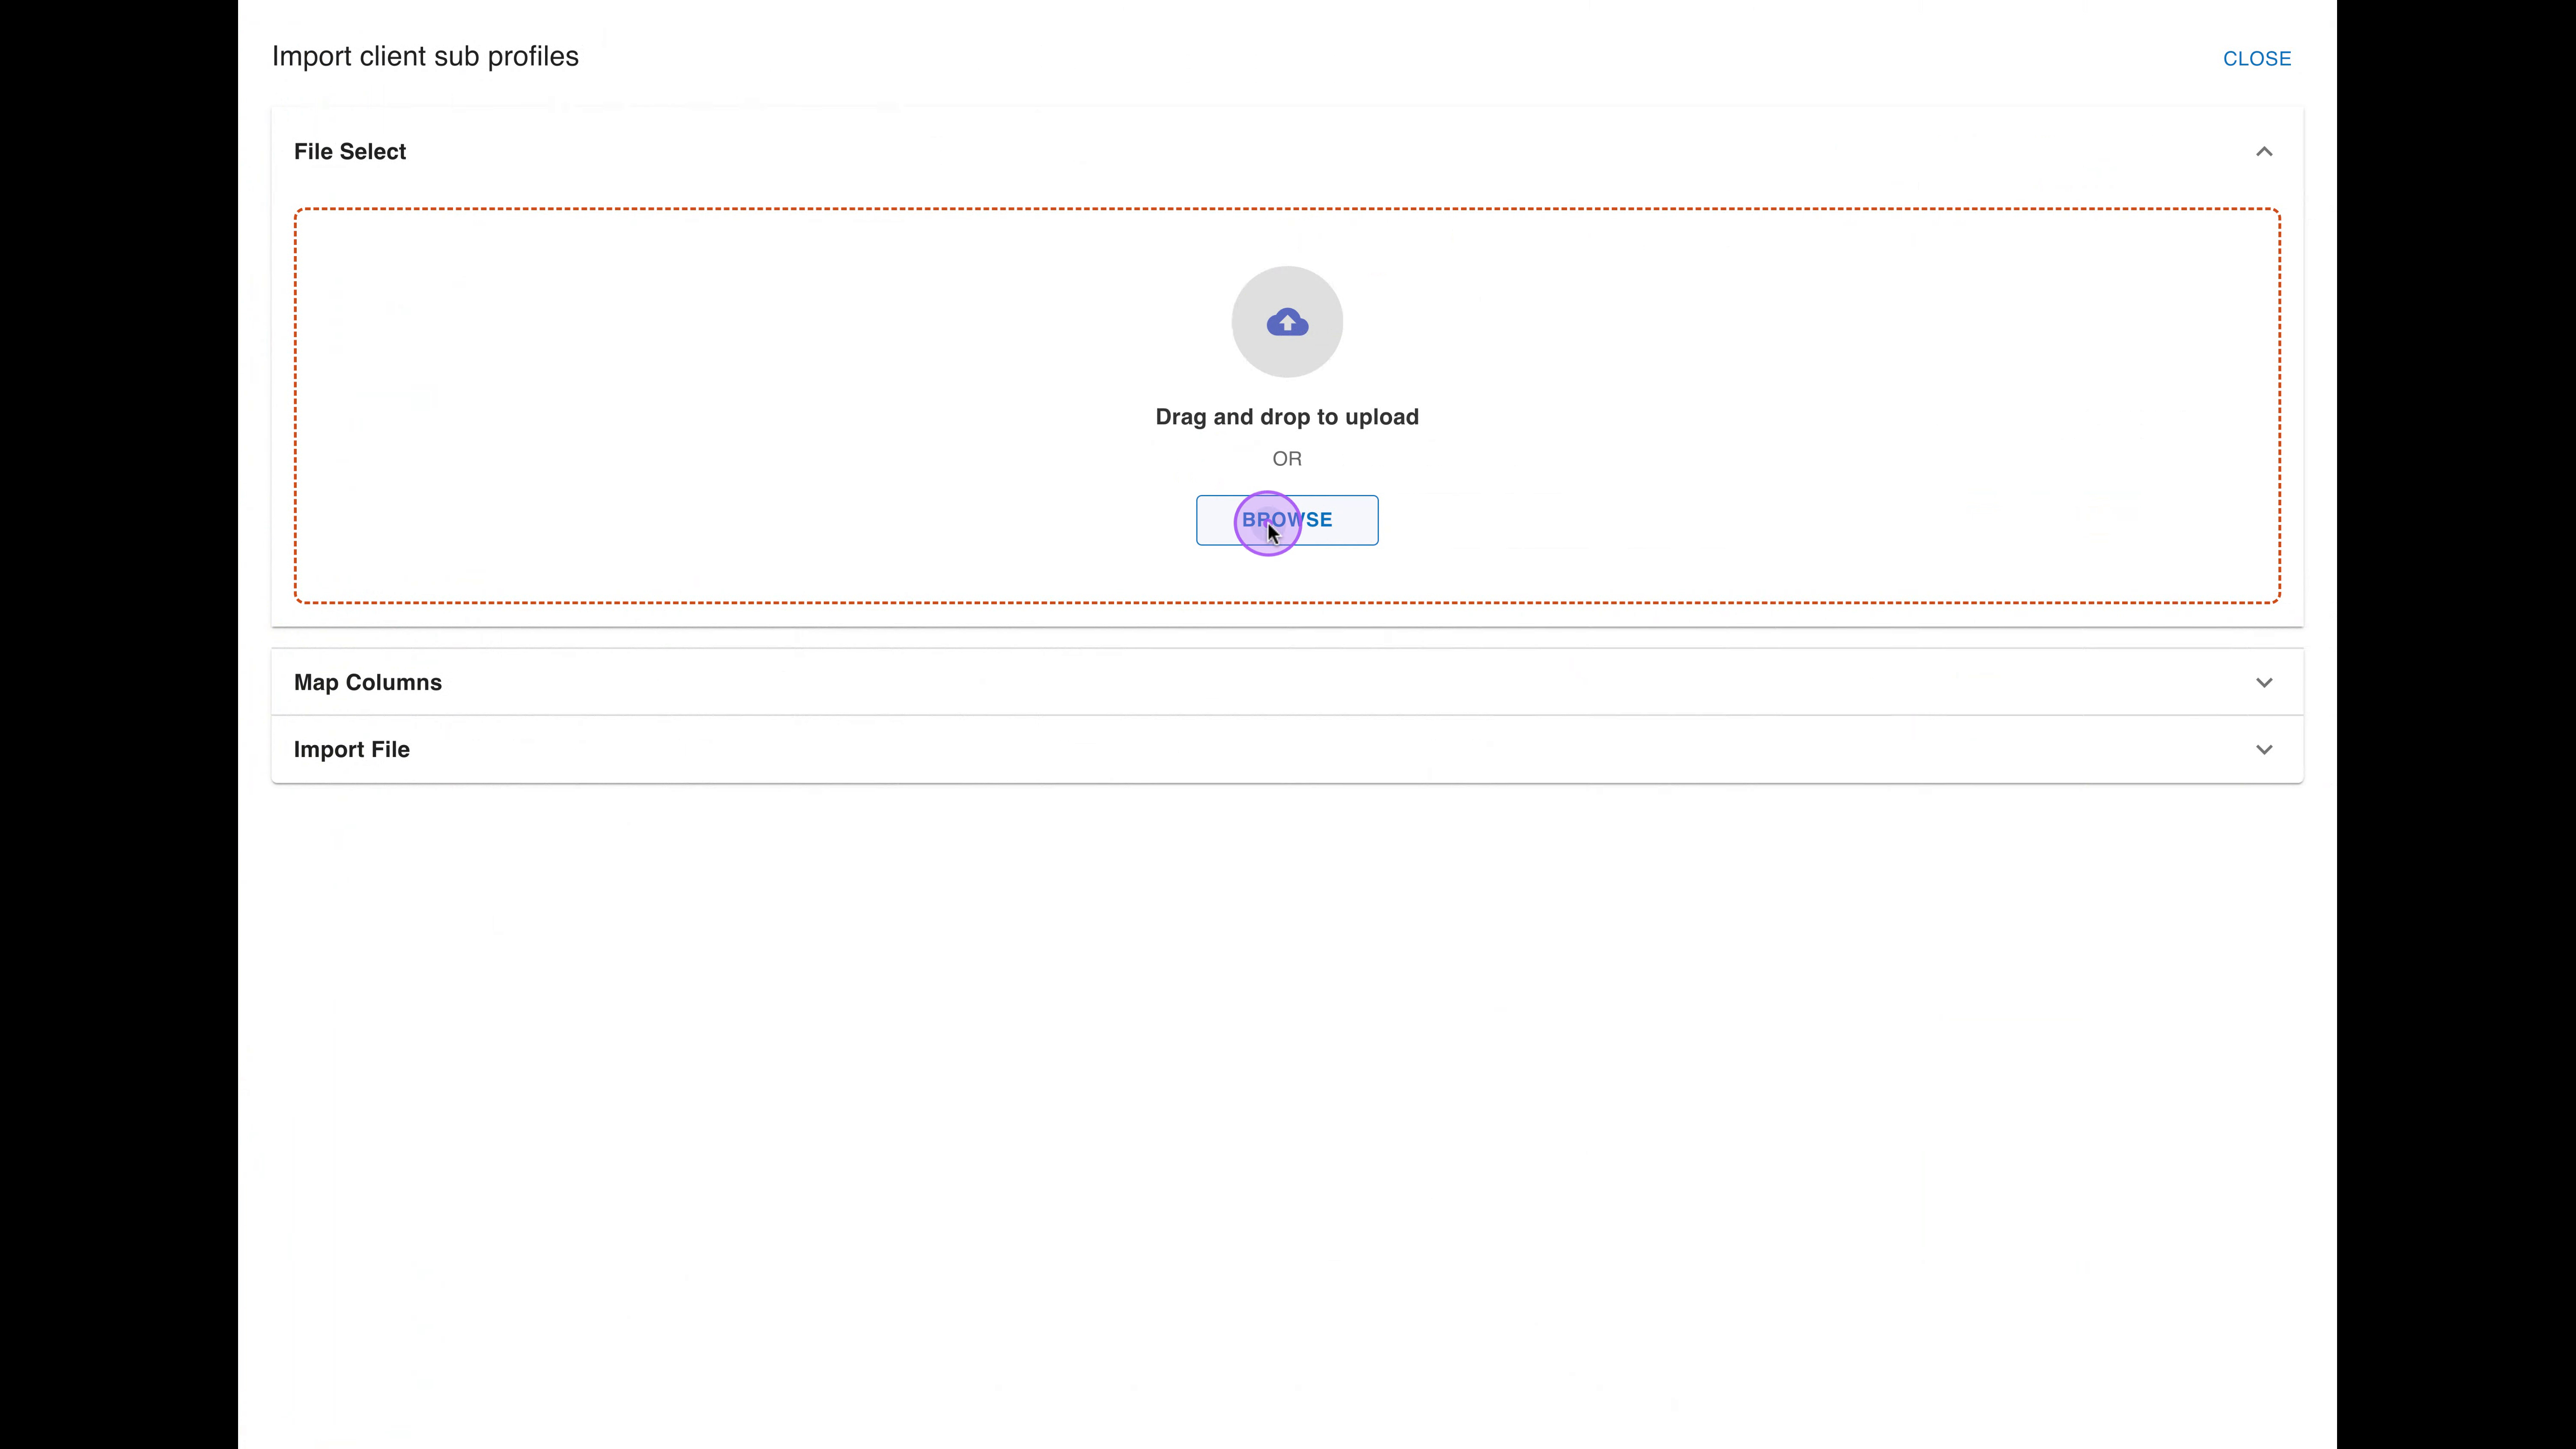
Once the import dialog is open, you can select your data file. In the File Select section, click the Browse button to open your file explorer and select the CSV file containing your client sub profiles.
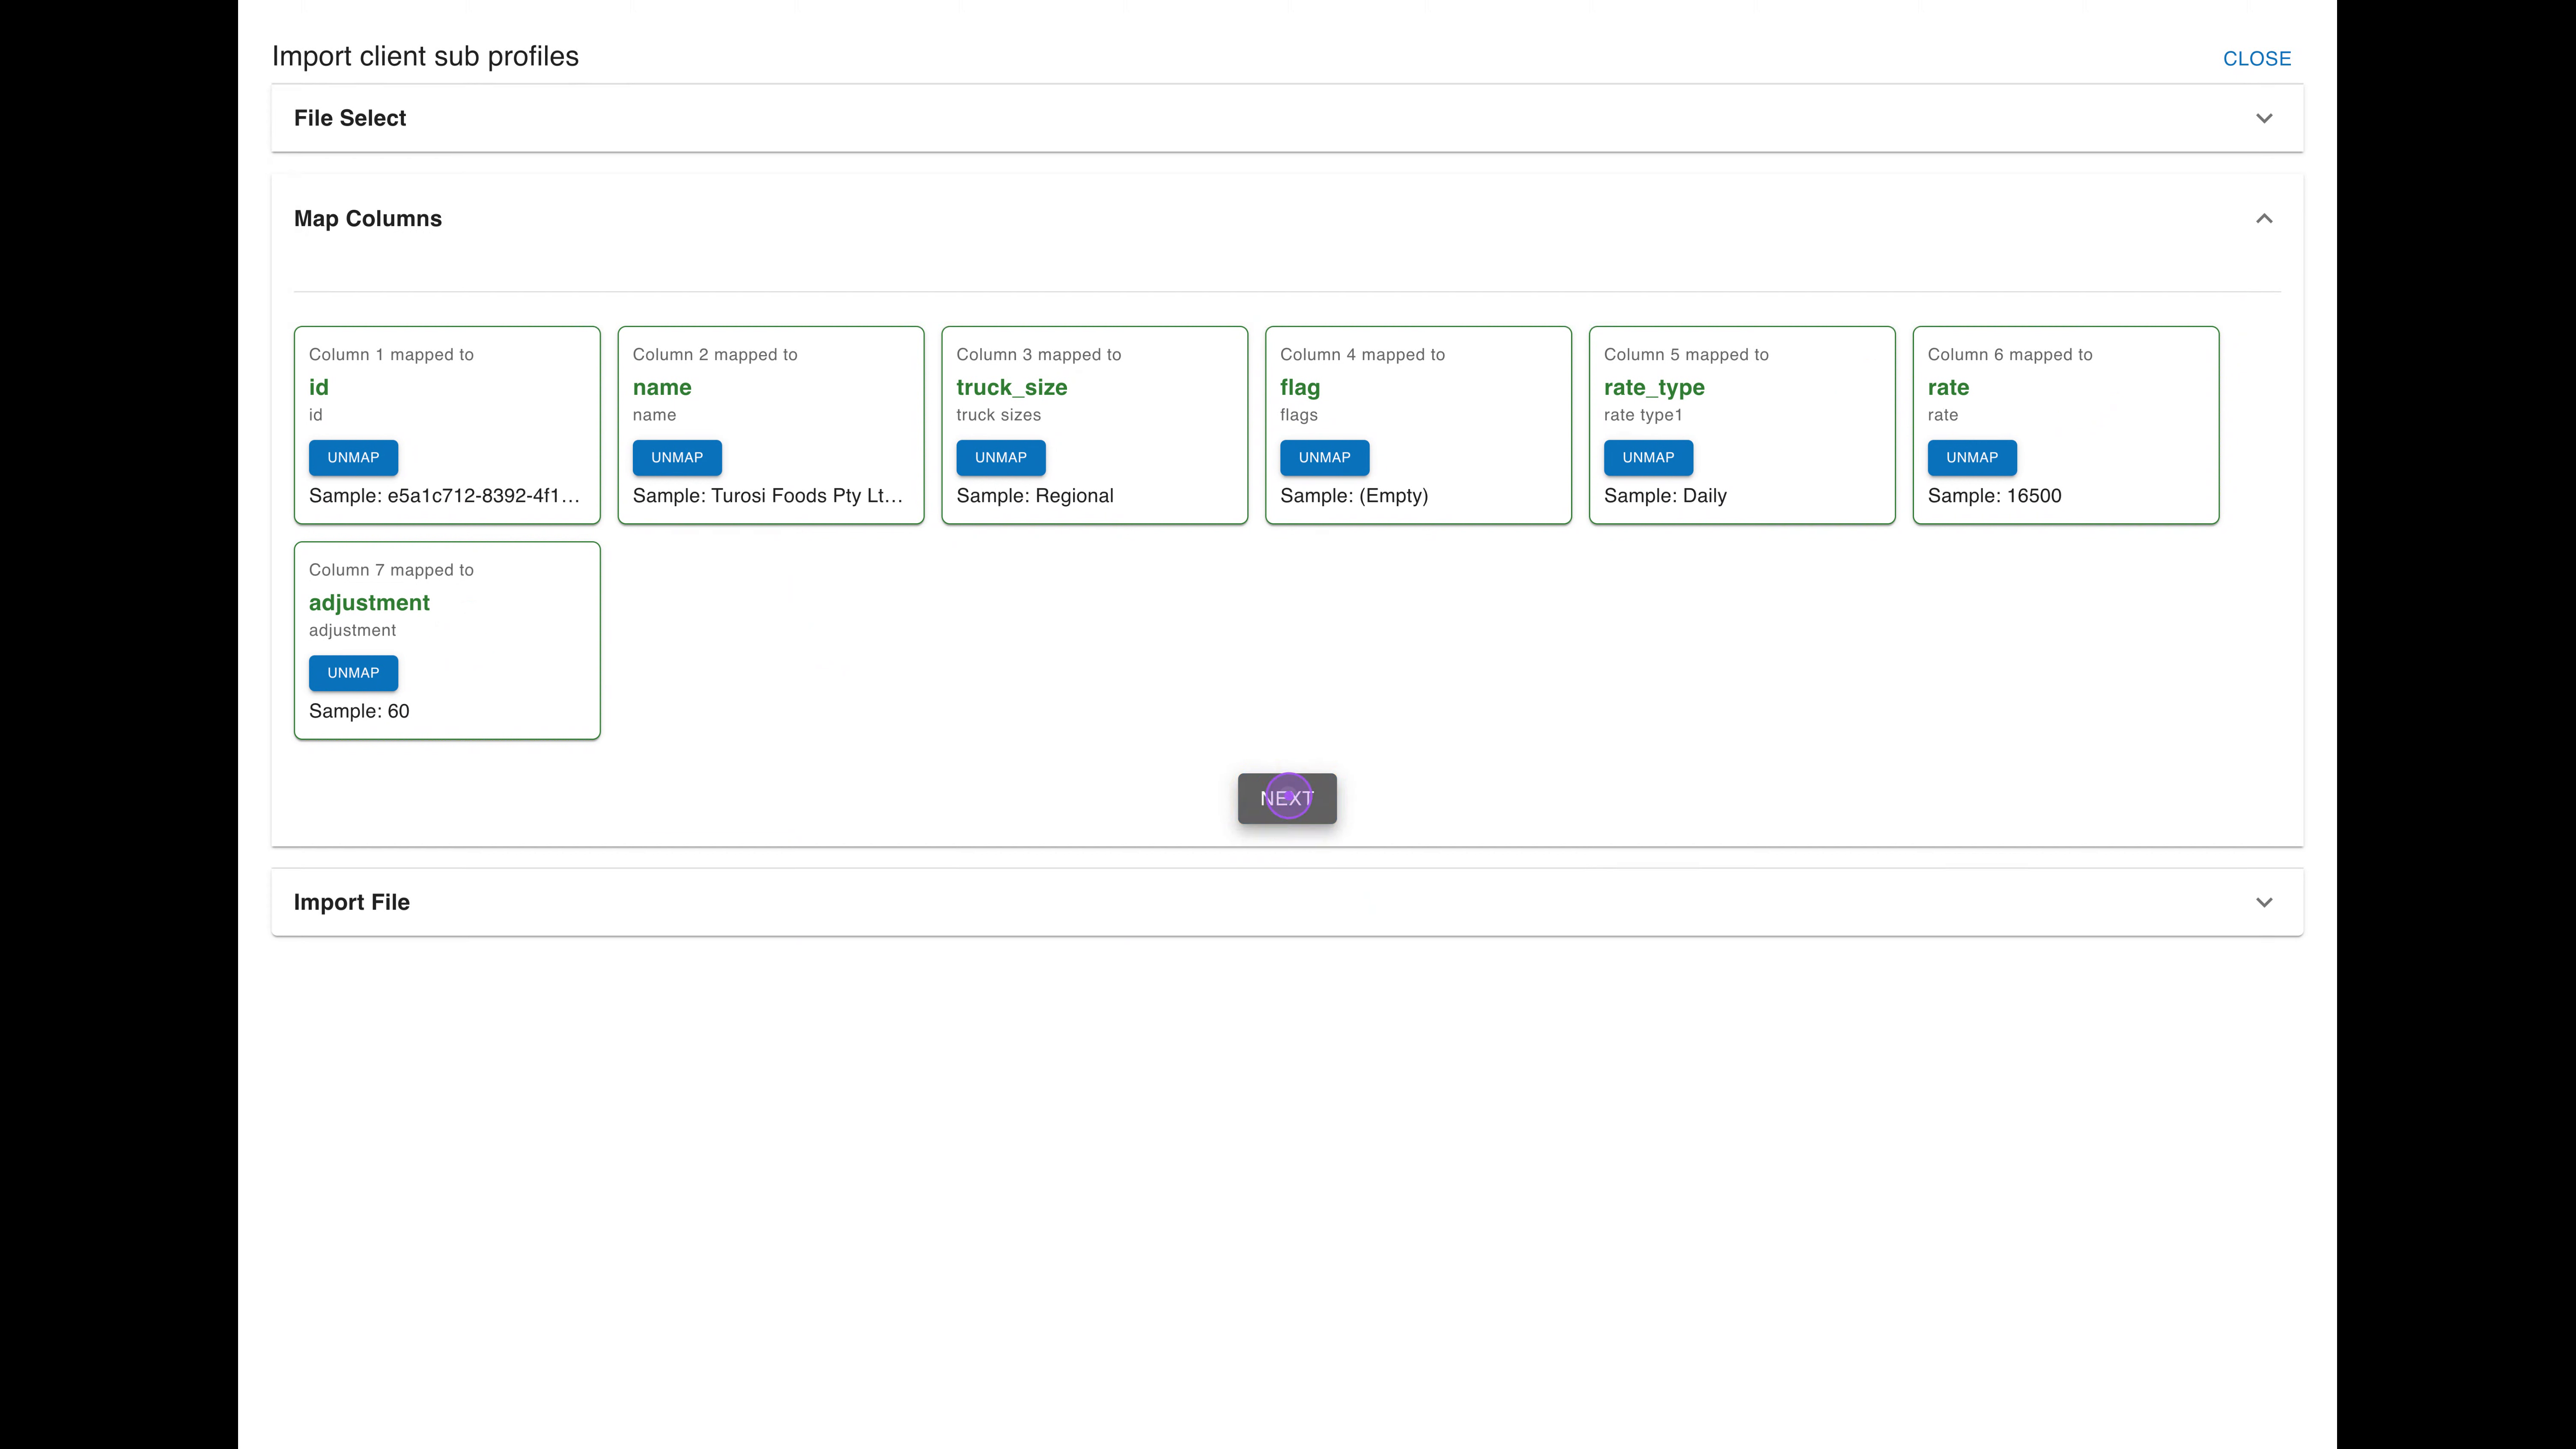
After selecting your file, you'll need to configure the data mapping. Expand the Map Columns section and map the three required fields: truck_size, flag, and rate_type. For each field, select the corresponding column from the dropdown and click MAP TO FIELD.

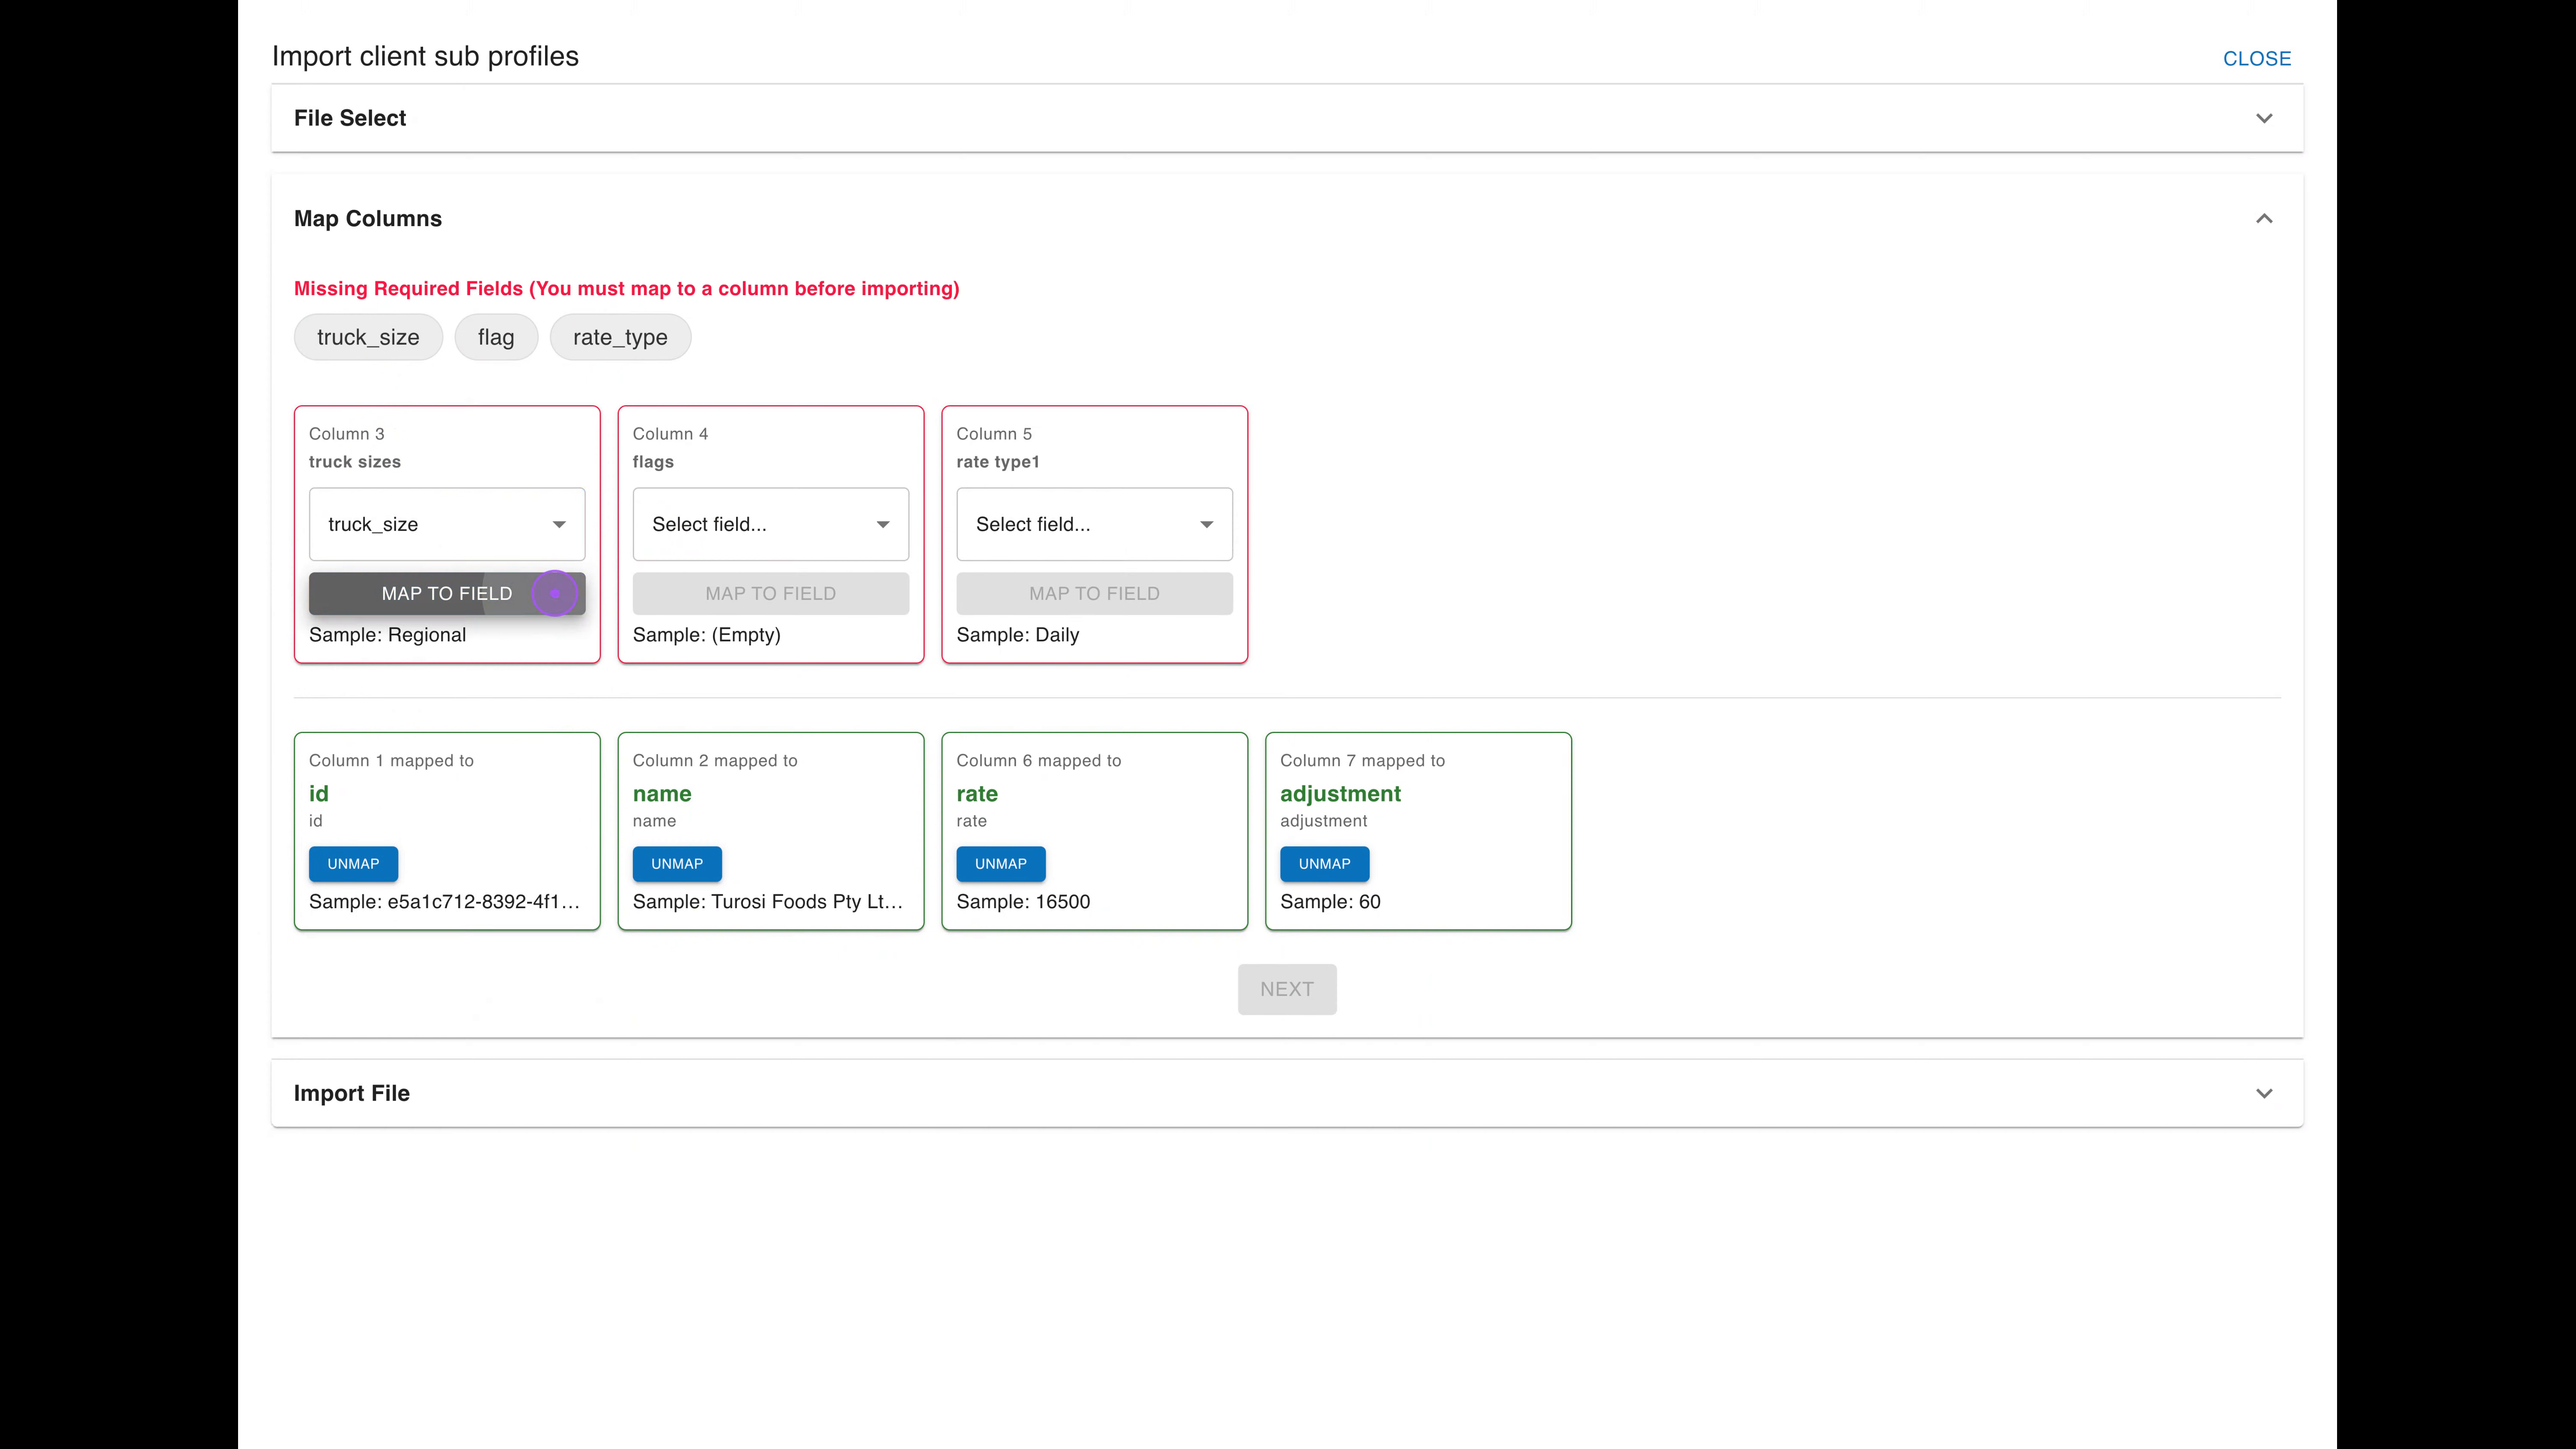
With your columns properly mapped, you're ready to move to the validation stage. Once all required fields are mapped and the NEXT button becomes active, click it to proceed to the Import File section.
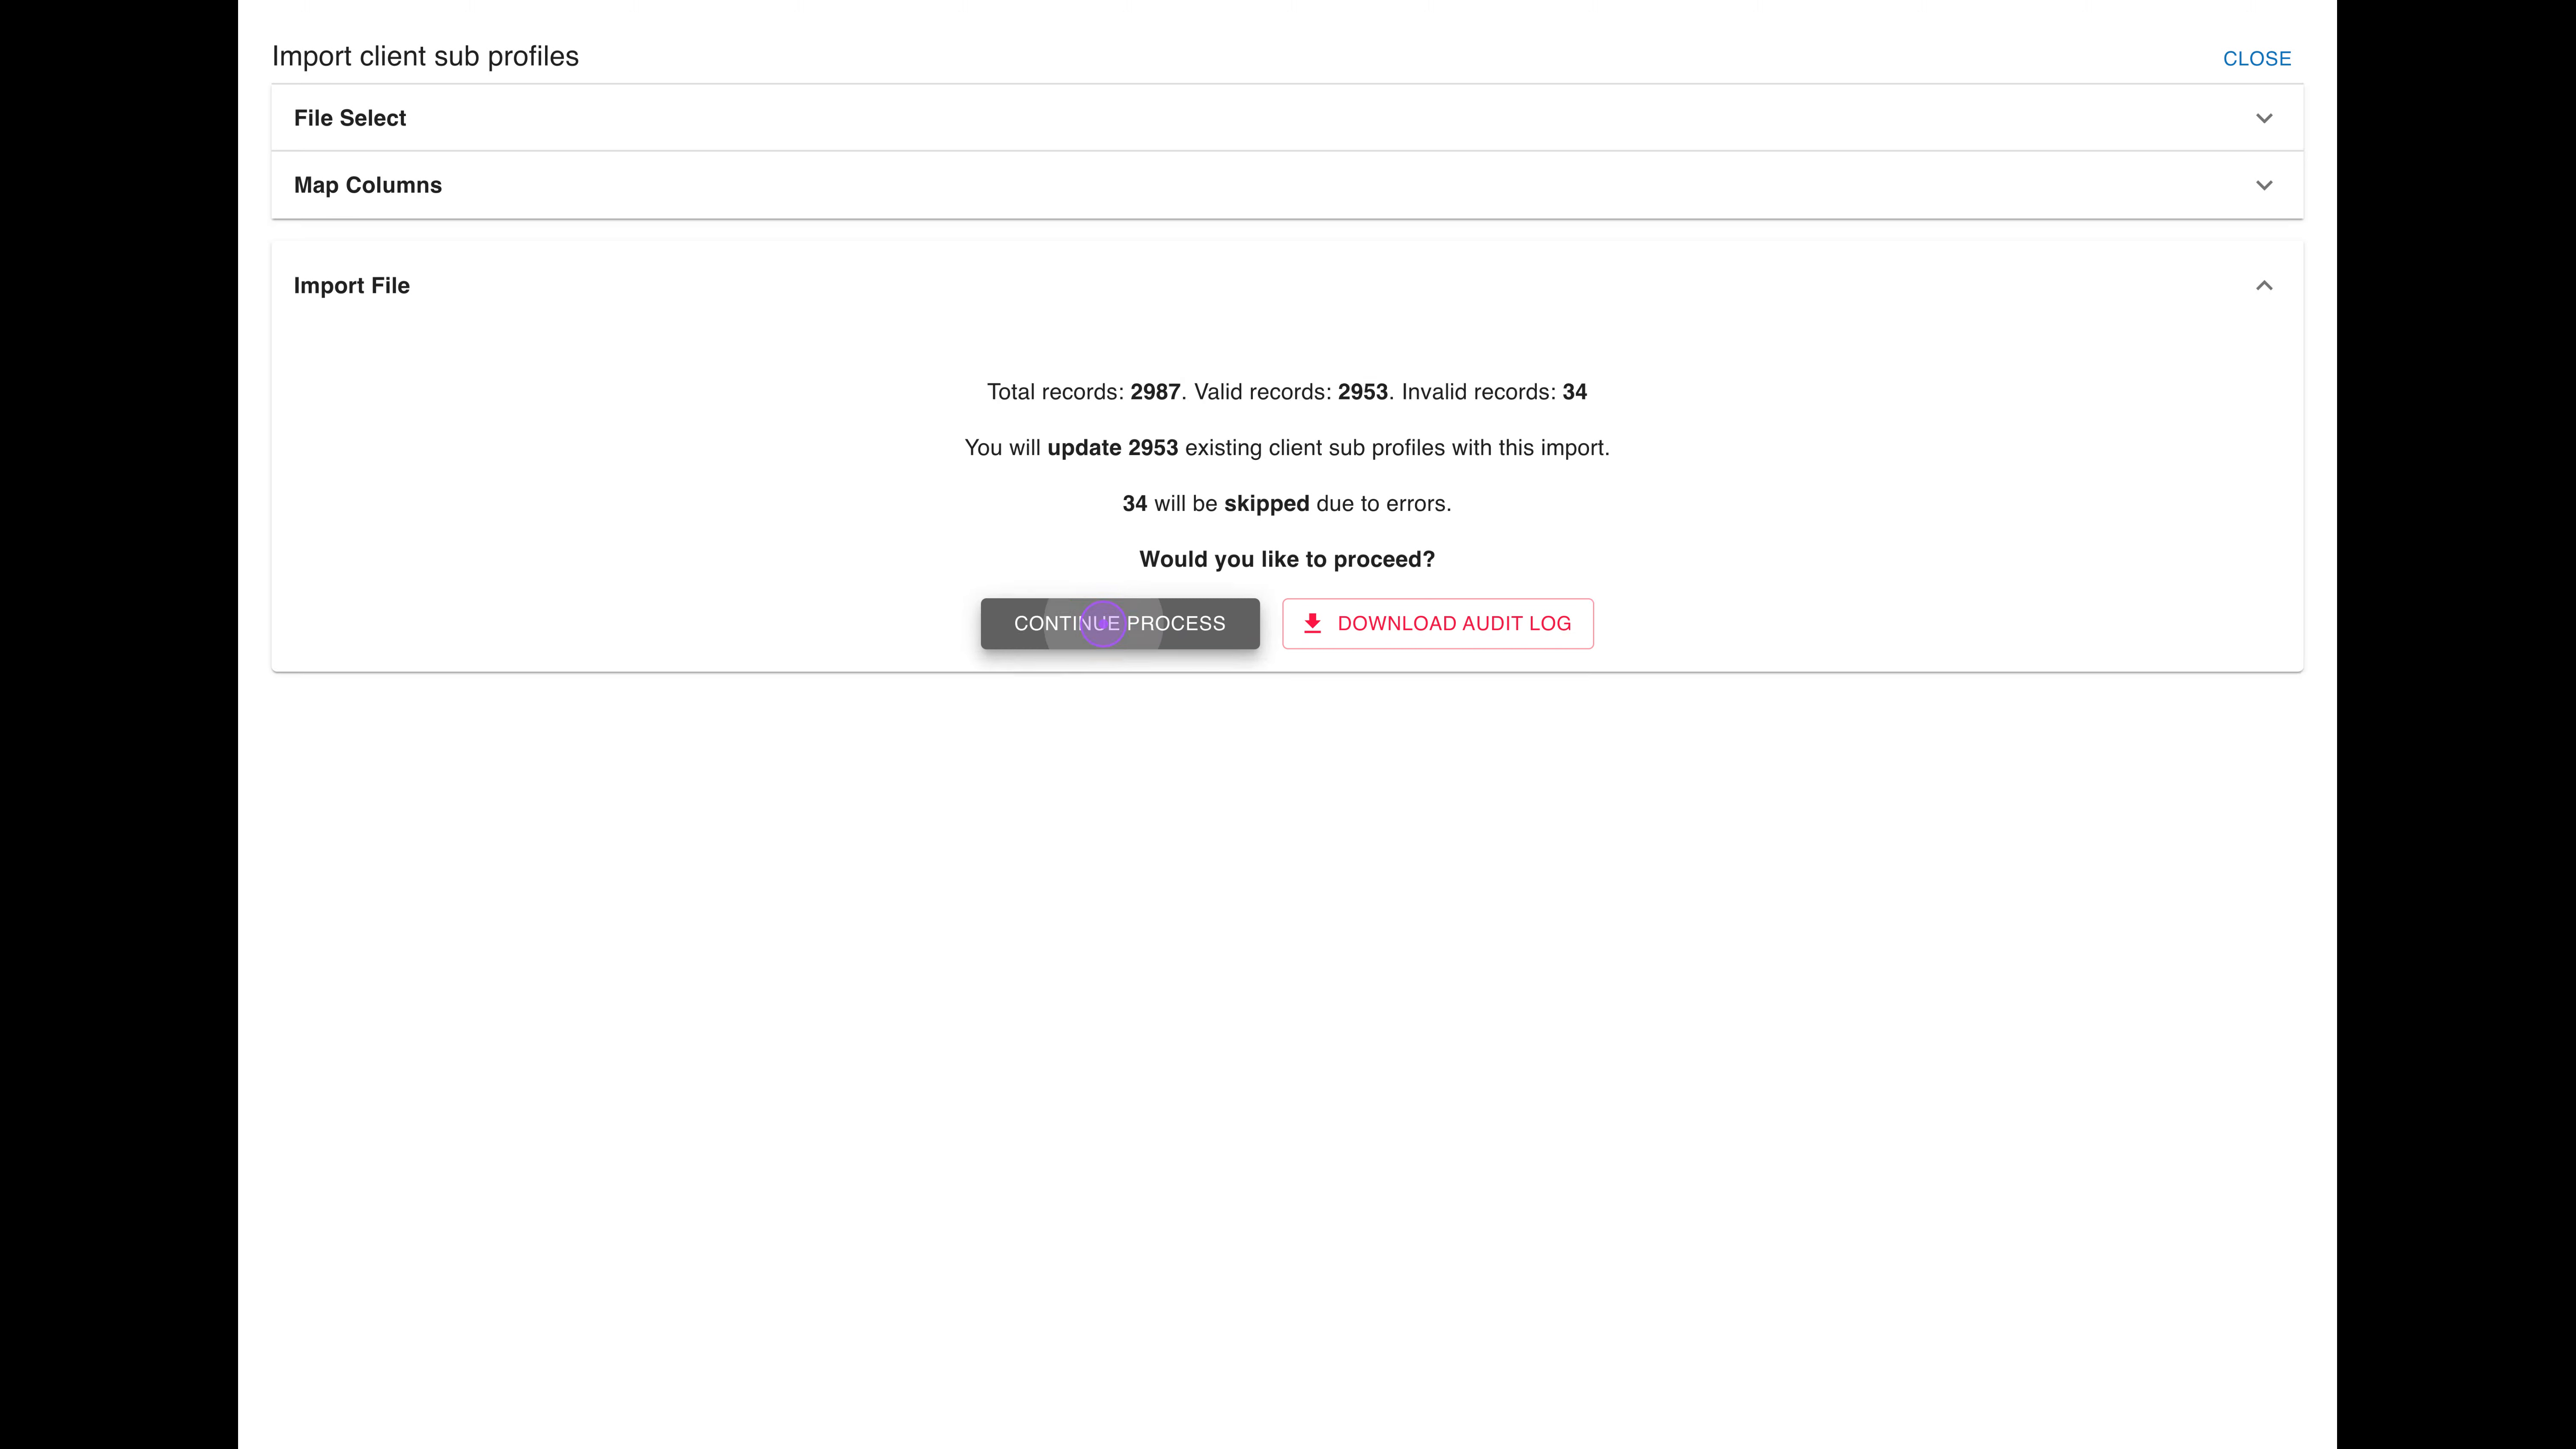
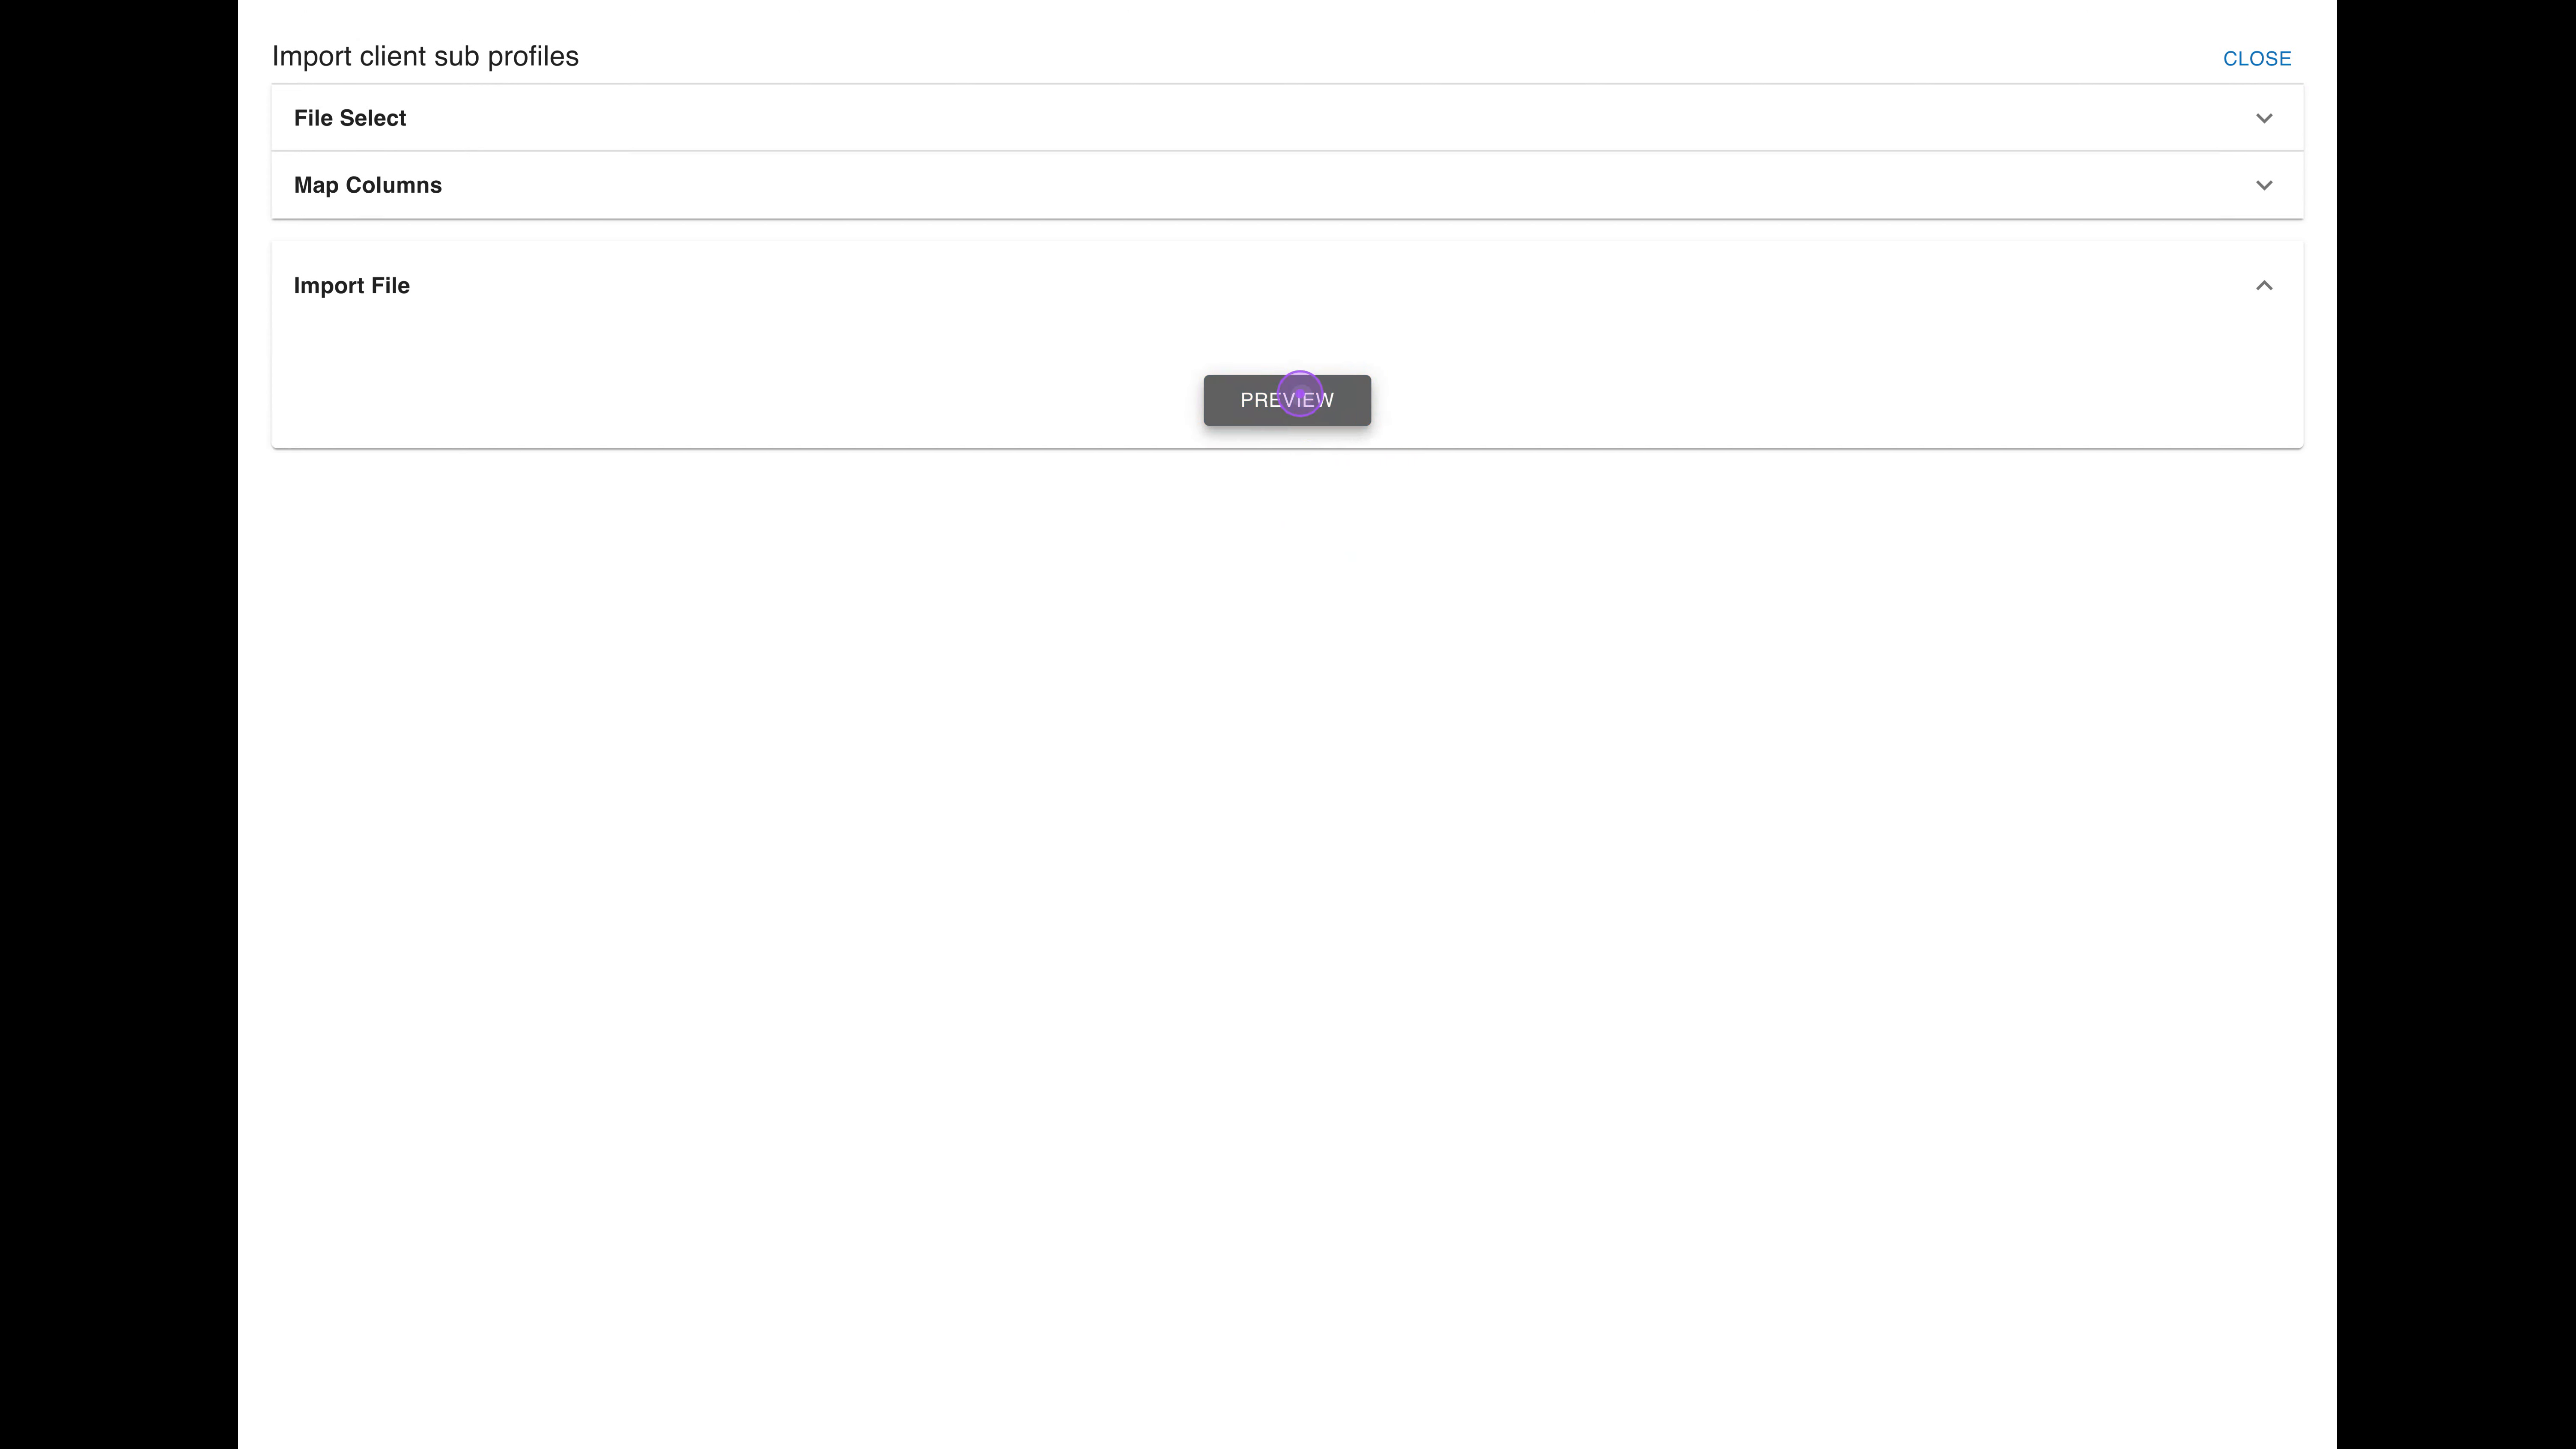
Before finalizing the import, verify that your data is correct. Click the Preview button to validate your data. The system will analyze the file and display a summary showing total records, valid records, and any invalid records that will be skipped.
If the validation results look good, you can finalize the process. Review the validation results. If satisfied, click Continue Process to finalize the import. You will see a success message confirming the number of records updated.